
Smart Home: Getting Started with Home Assistant on Raspberry Pi
Various types of smart devices designed for smart home are developed, part of them can be connected to apple HomeKit, or connected to vendor’s ECO-system, this brings problems as you may buy different products from different vendors, you have to install many apps or use different remotes to control these devices.

For me, I have smart speaker, air conditioner, android TV, fitness devices, and many other smart devices, they are all isolated, cause they comes from different vendors, but with Home Assistant, this problem disappears, I’ll connect all these devices and get rid of apps and remotes with a Raspberry Pi running Home Assistant Operating System (HassOS).
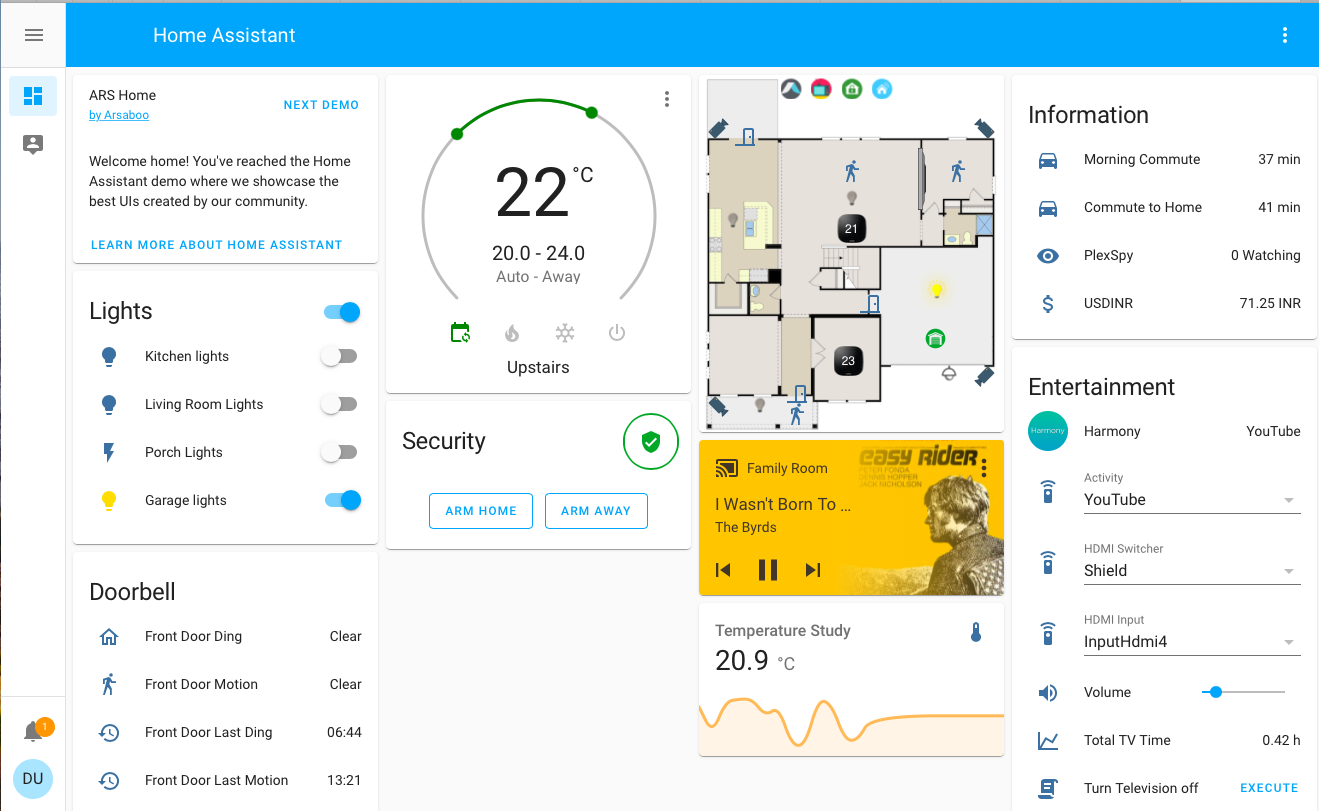
This is a demo configuration of the Home Assistant contributed by Arsaboo,
more example configurations can be found here:
Introduction to Home Assistant
In general, Home Assistant is an home automation hub, with it, different devices from different vendors with different protocols can communicate with each other, this makes home automation possible, for example, I can ask my smart speaker to dim the light when I’m watching TV, or create an automation triggered by ipcam.
Installing and Setting up Home Assistant
HassOS support many devices, including odroid, tinker, raspberry pi series and intel nuc board, I have pieces of raspberry pi 3 board on hand, so I will install Home Assistant on Raspberry Pi 3B, there should be no differences on installation process to other boards.
- Download the latest hassos release from github, 32-bit image is
officially recommended, as official listed the limitation on 64-bit:
The 64bit version is under development by RPi-Team. It work very nice but it could have some impacts. Actual we see that the SDcard access with ext4 are a bit slower than on 32bit.
-
Flash the downloaded image to a micro sd card using balenaEtcher, no need to extract image.
-
Insert the card and power on, waiting for boot completed
You need to connect Raspberry Pi to ethernet or you will need to configure wireless connection described in step 3 on page Installing Home Assistant.
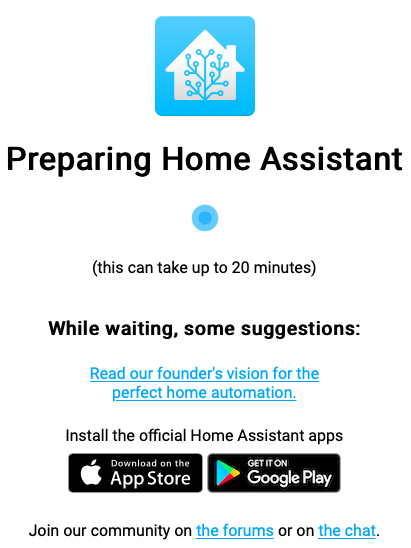
This will take up to 20 minutes to download the latest version of Home Assistant, you will be able to reach the hassos at http://homeassistant.local:8123 if your router supports mDNS, or else just use the ip address, for example: http://192.168.0.9:8123:
Home Assistant also comes with a companion app for both iOS and Android operating system, which can be used to configure your Home Assistant.
-
Now the installation is done, you need to configure it before using.
You can do the following configuration with both the app and the browser.
First thing you need is to create an administrator account, this account can change everything in the system:
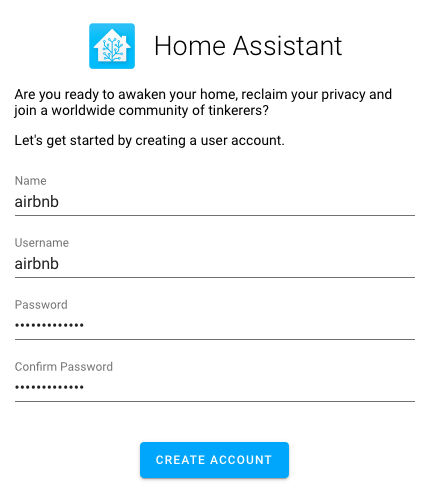
Click CREATE ACCOUNT to go to next step.
-
Set Location
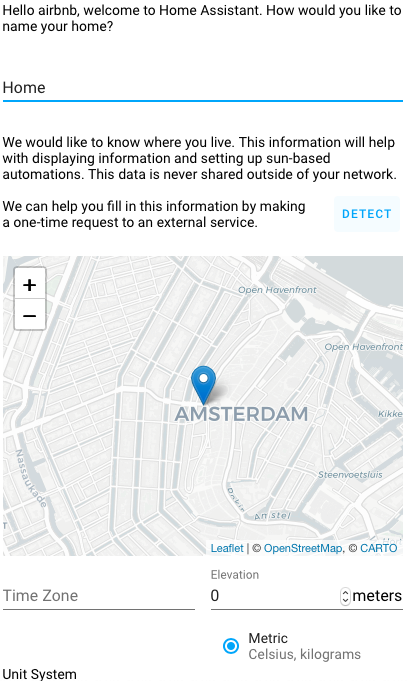
Click DETECT to set location automatically, this needs to be accurate, as this will be used for presence detection.
-
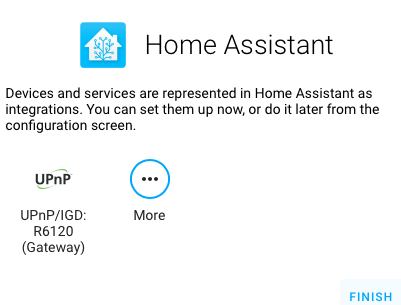
Next, Home Assistant will show all the discovered devices and services, there is only one device detected (NETGEAR Router R6120), click FINISH to complete the configuration, we will setup these devices later:
-
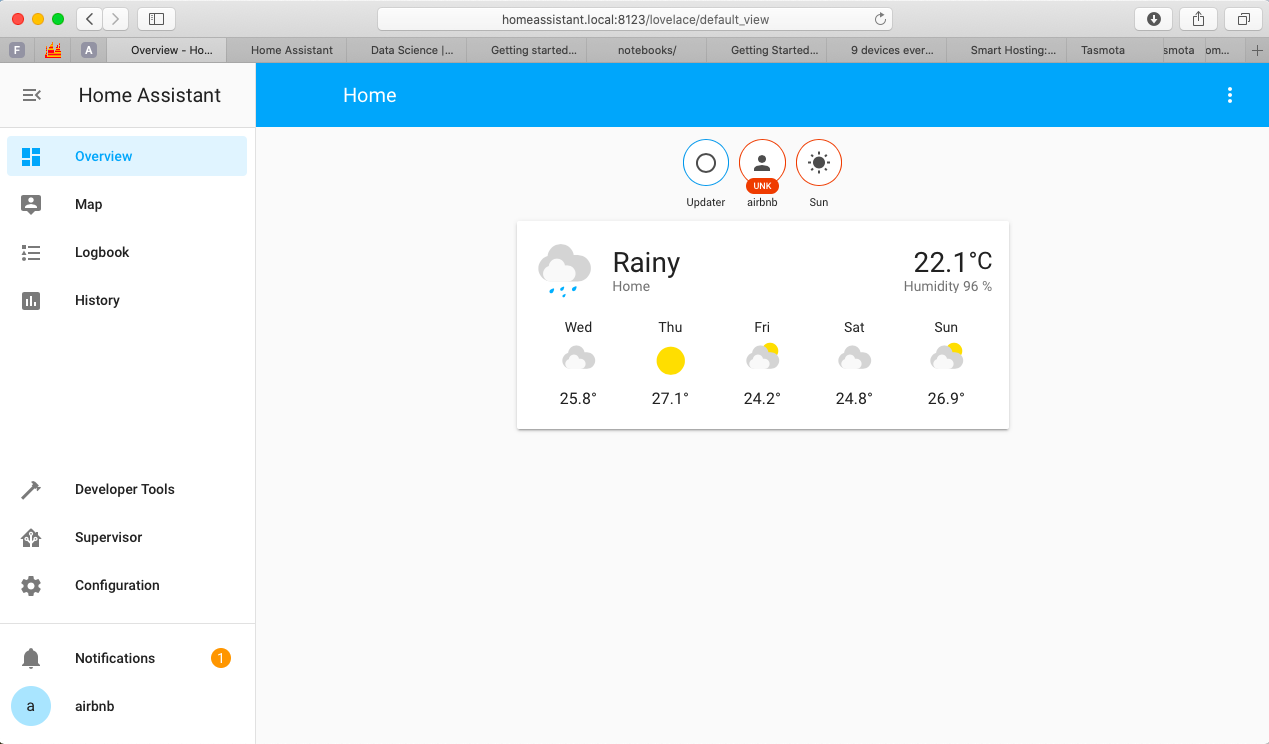
Overview
This overview only show us weather forecast, this is fairly nothing compared to the demo configuration at the very beginning, we will add more interesting stuff later:
Installing SSH Add-On
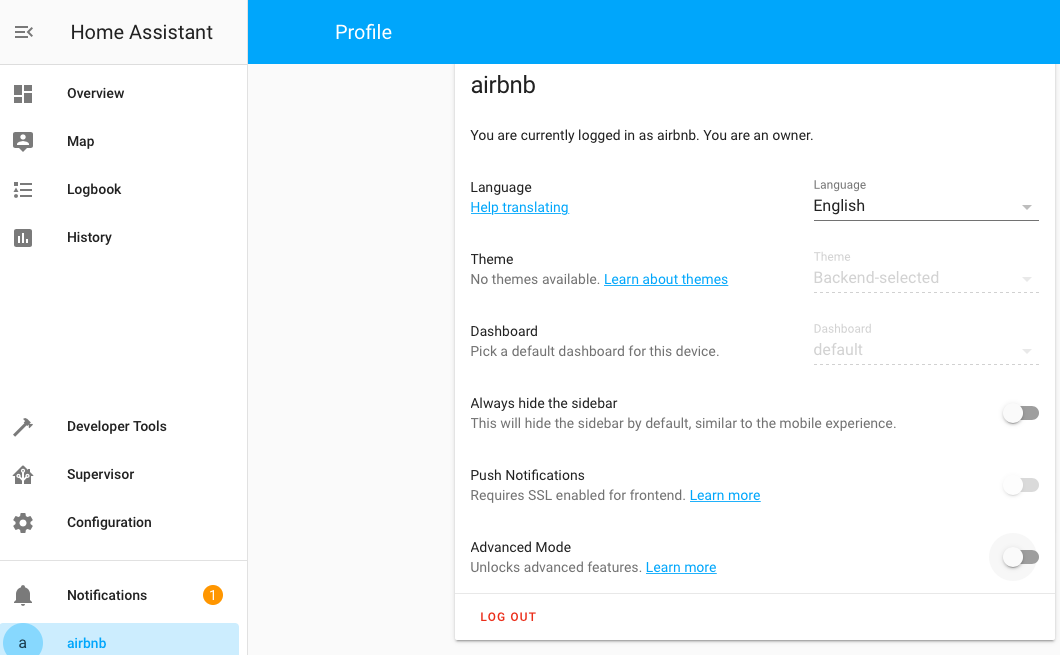
All the configuration are saved in file /config/configuration.yaml, in order
to edit this file, ssh add-on is required, advanced mode needs to be enabled
in user’s profile, as this add-on was marked with advanced:
Then, go to Supervisor » Add-on store search for ssh:
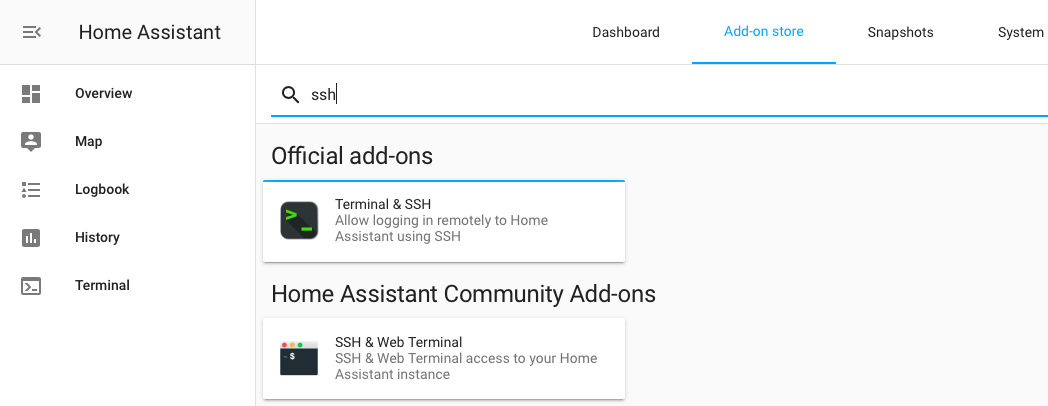
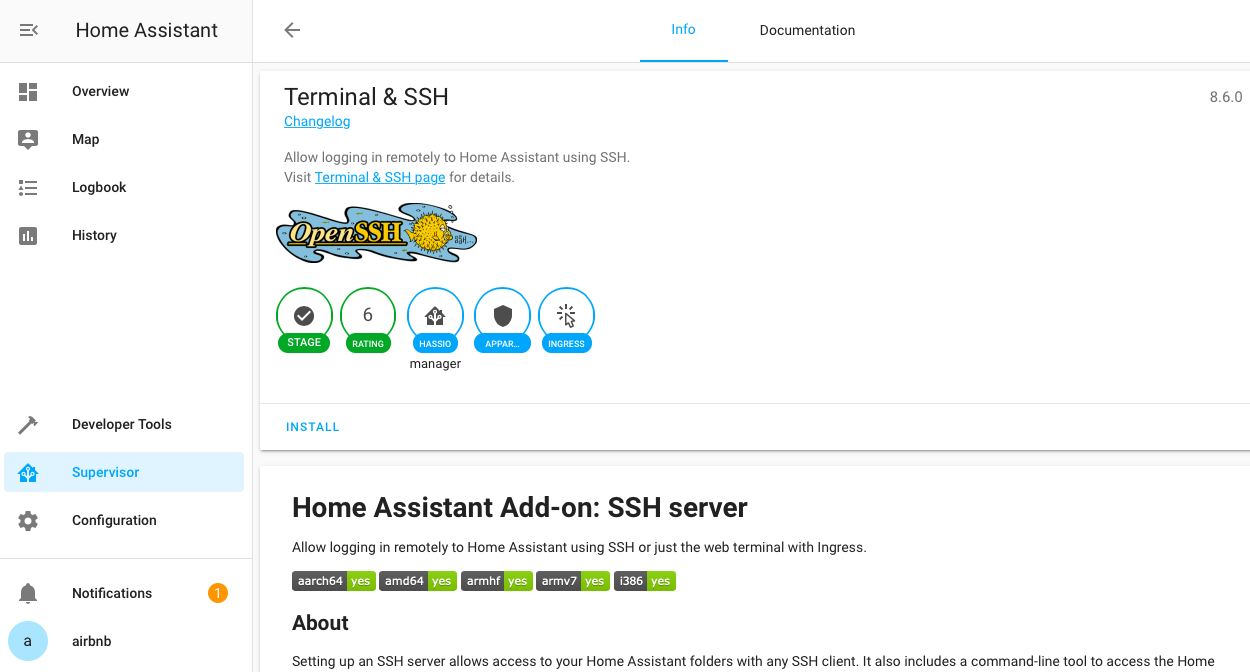
Select Terminal & SSH in Official add-ons and click INSTALL, this may
take a few seconds:
You need to config before starting ssh server, you can use either authorized keys
or password if you wish, the latter method is discouraged, set port to 22 in
Network section:
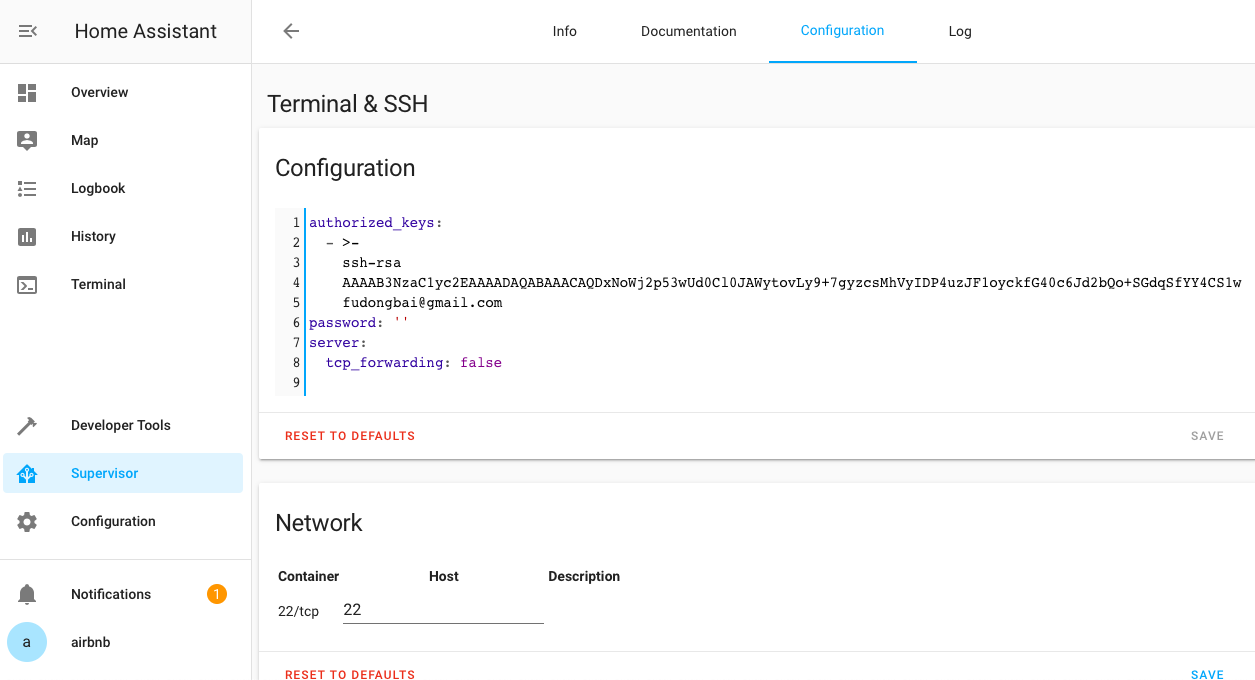
Don’t forget to save the configuration, then click START to start the ssh
server:
With any configuration change, a restart is required.
Now you can access system using ssh with WEB UI:
 or with command line:
ssh root@192.168.0.9
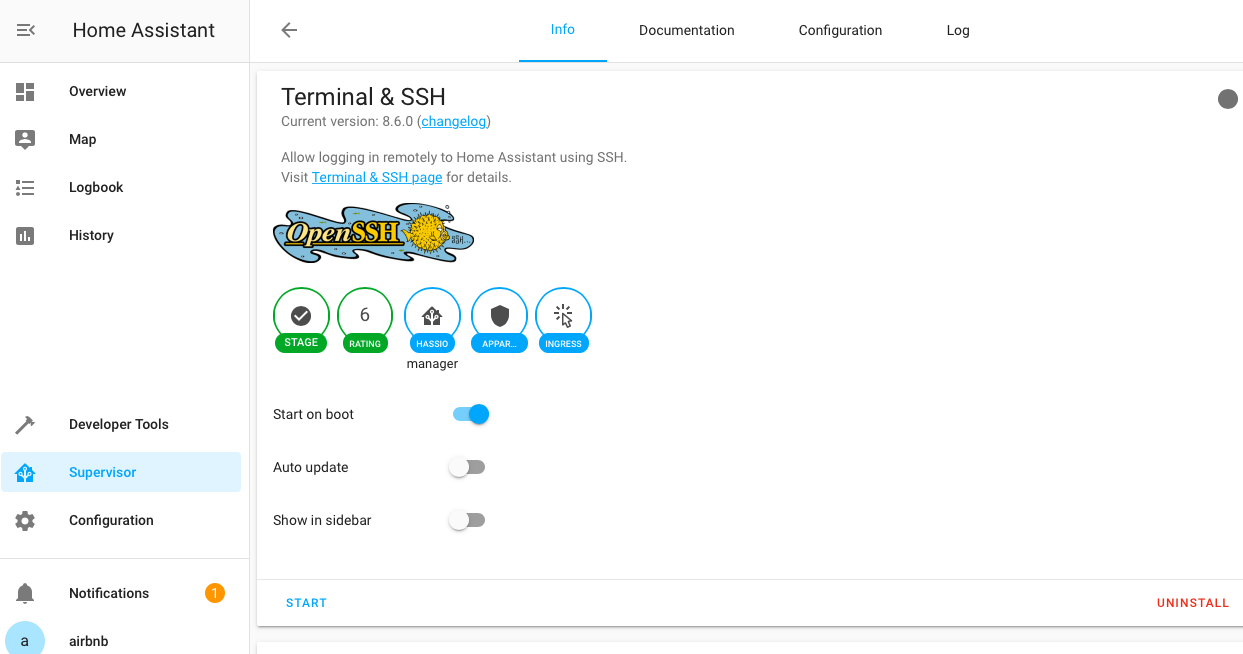
This add-on can be added to sidebar by toggle Show in sidebar switch.
This add-on provides limited version of ssh server for security consideration, for configuration file editing, this should be enough.