Manage Local Media with Jellyfin
Jellyfin is an open source local media management system, it is descended
from Emby which is now goes commercial, it can fetch metadata from various
website such as TheMovieDb for video files, which can then be displayed
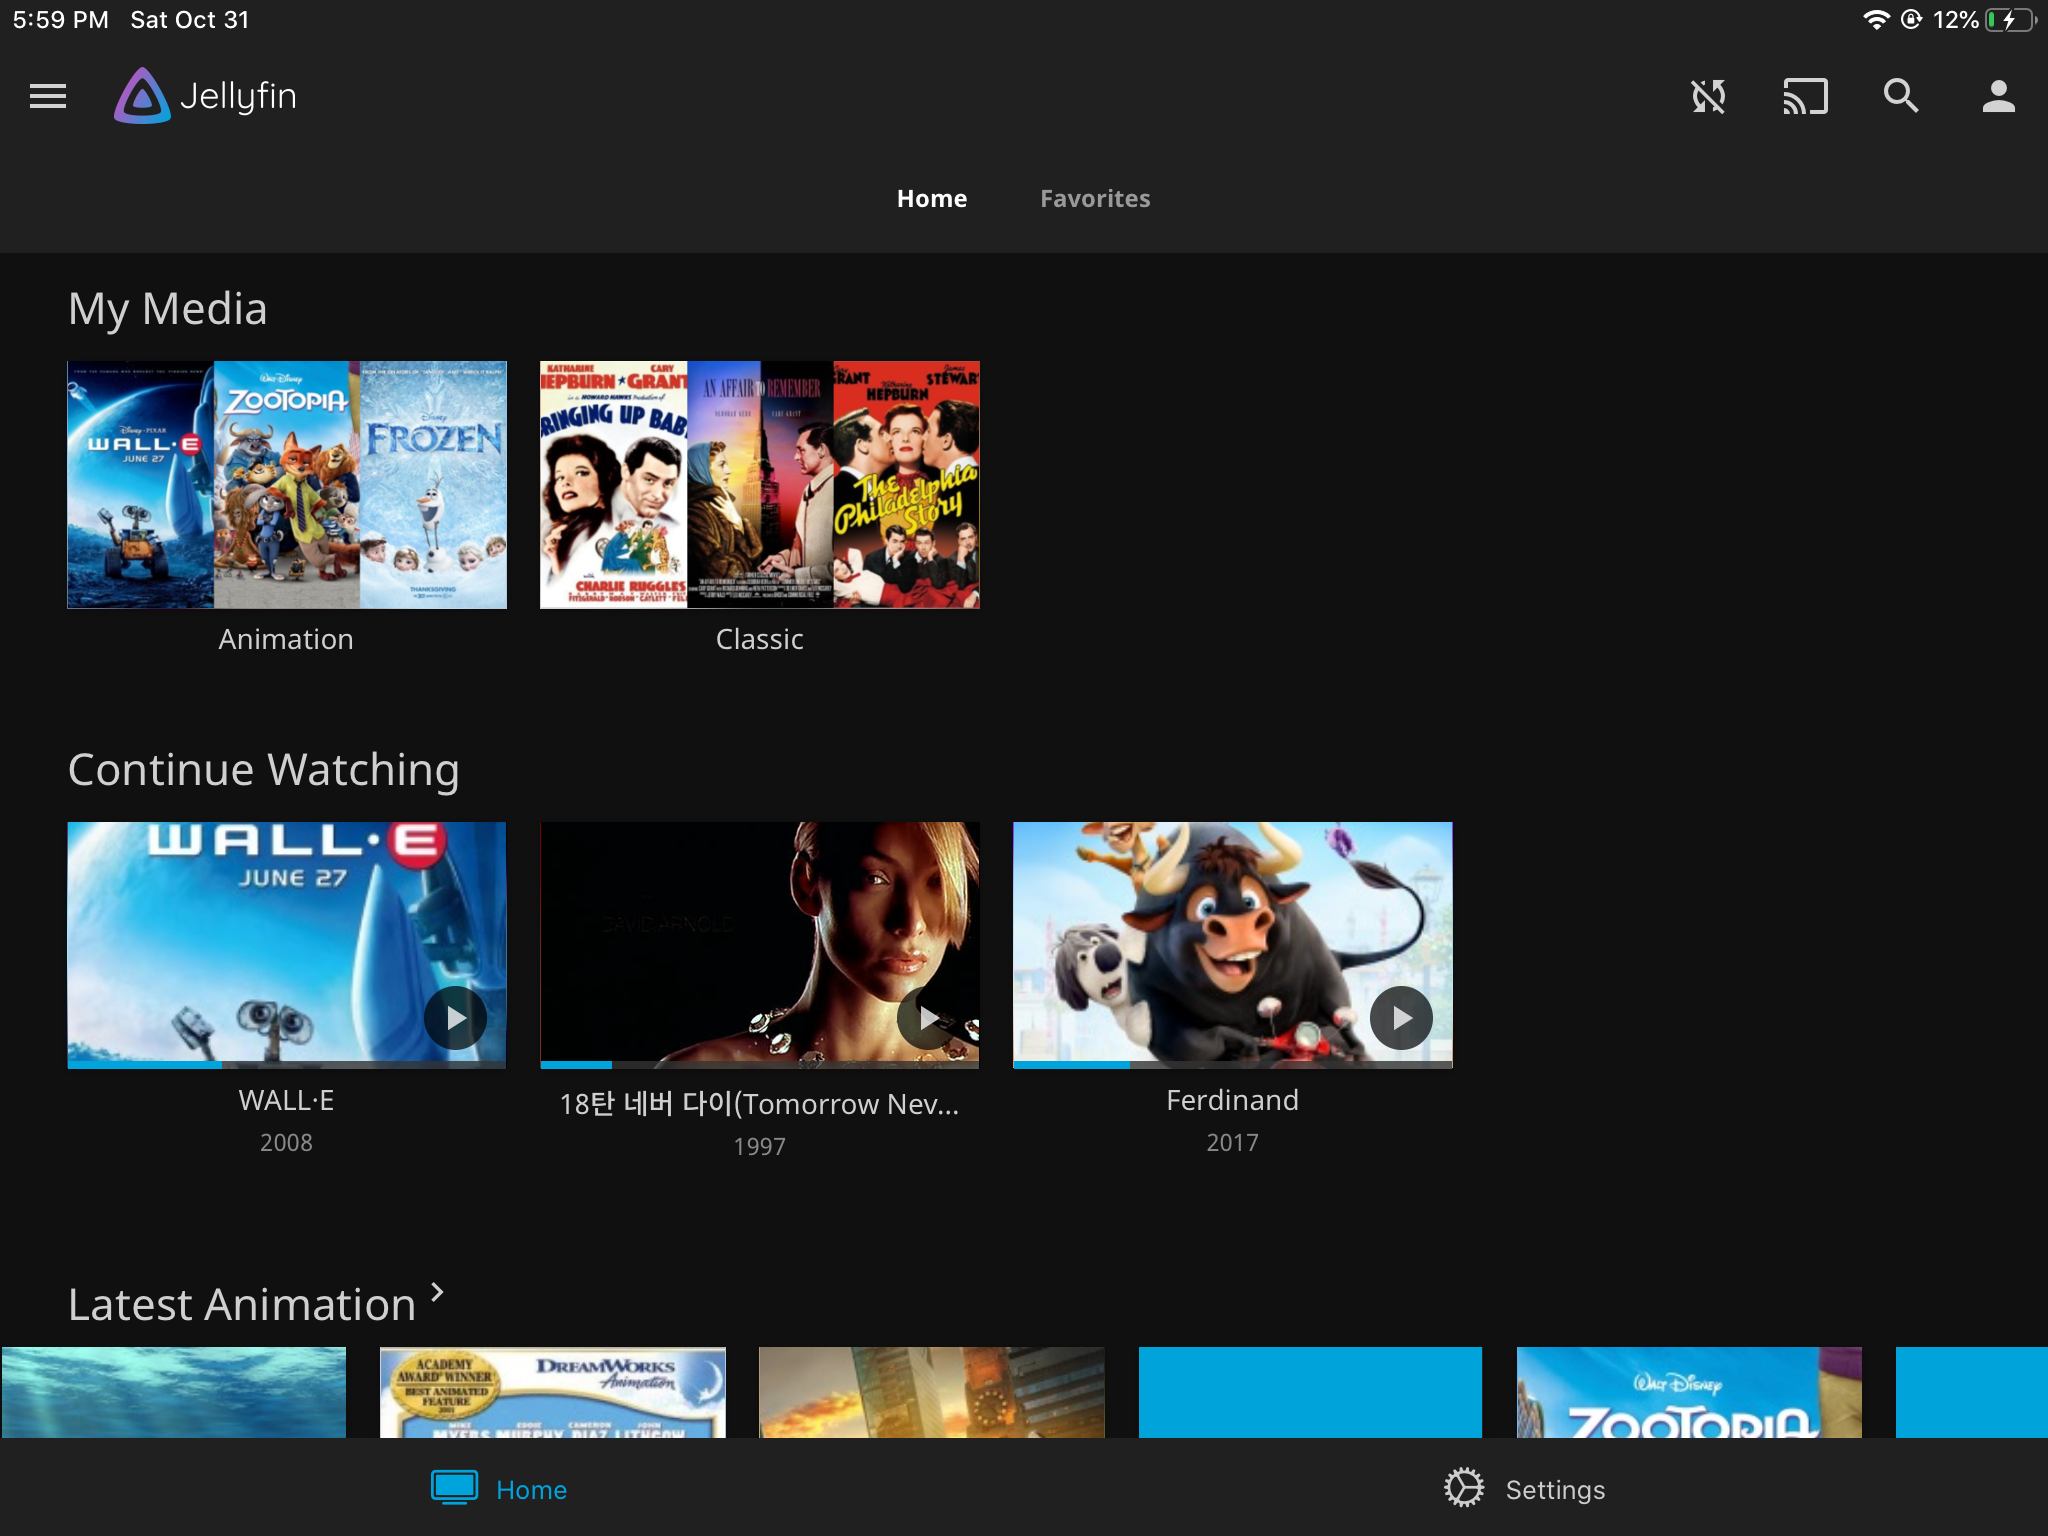
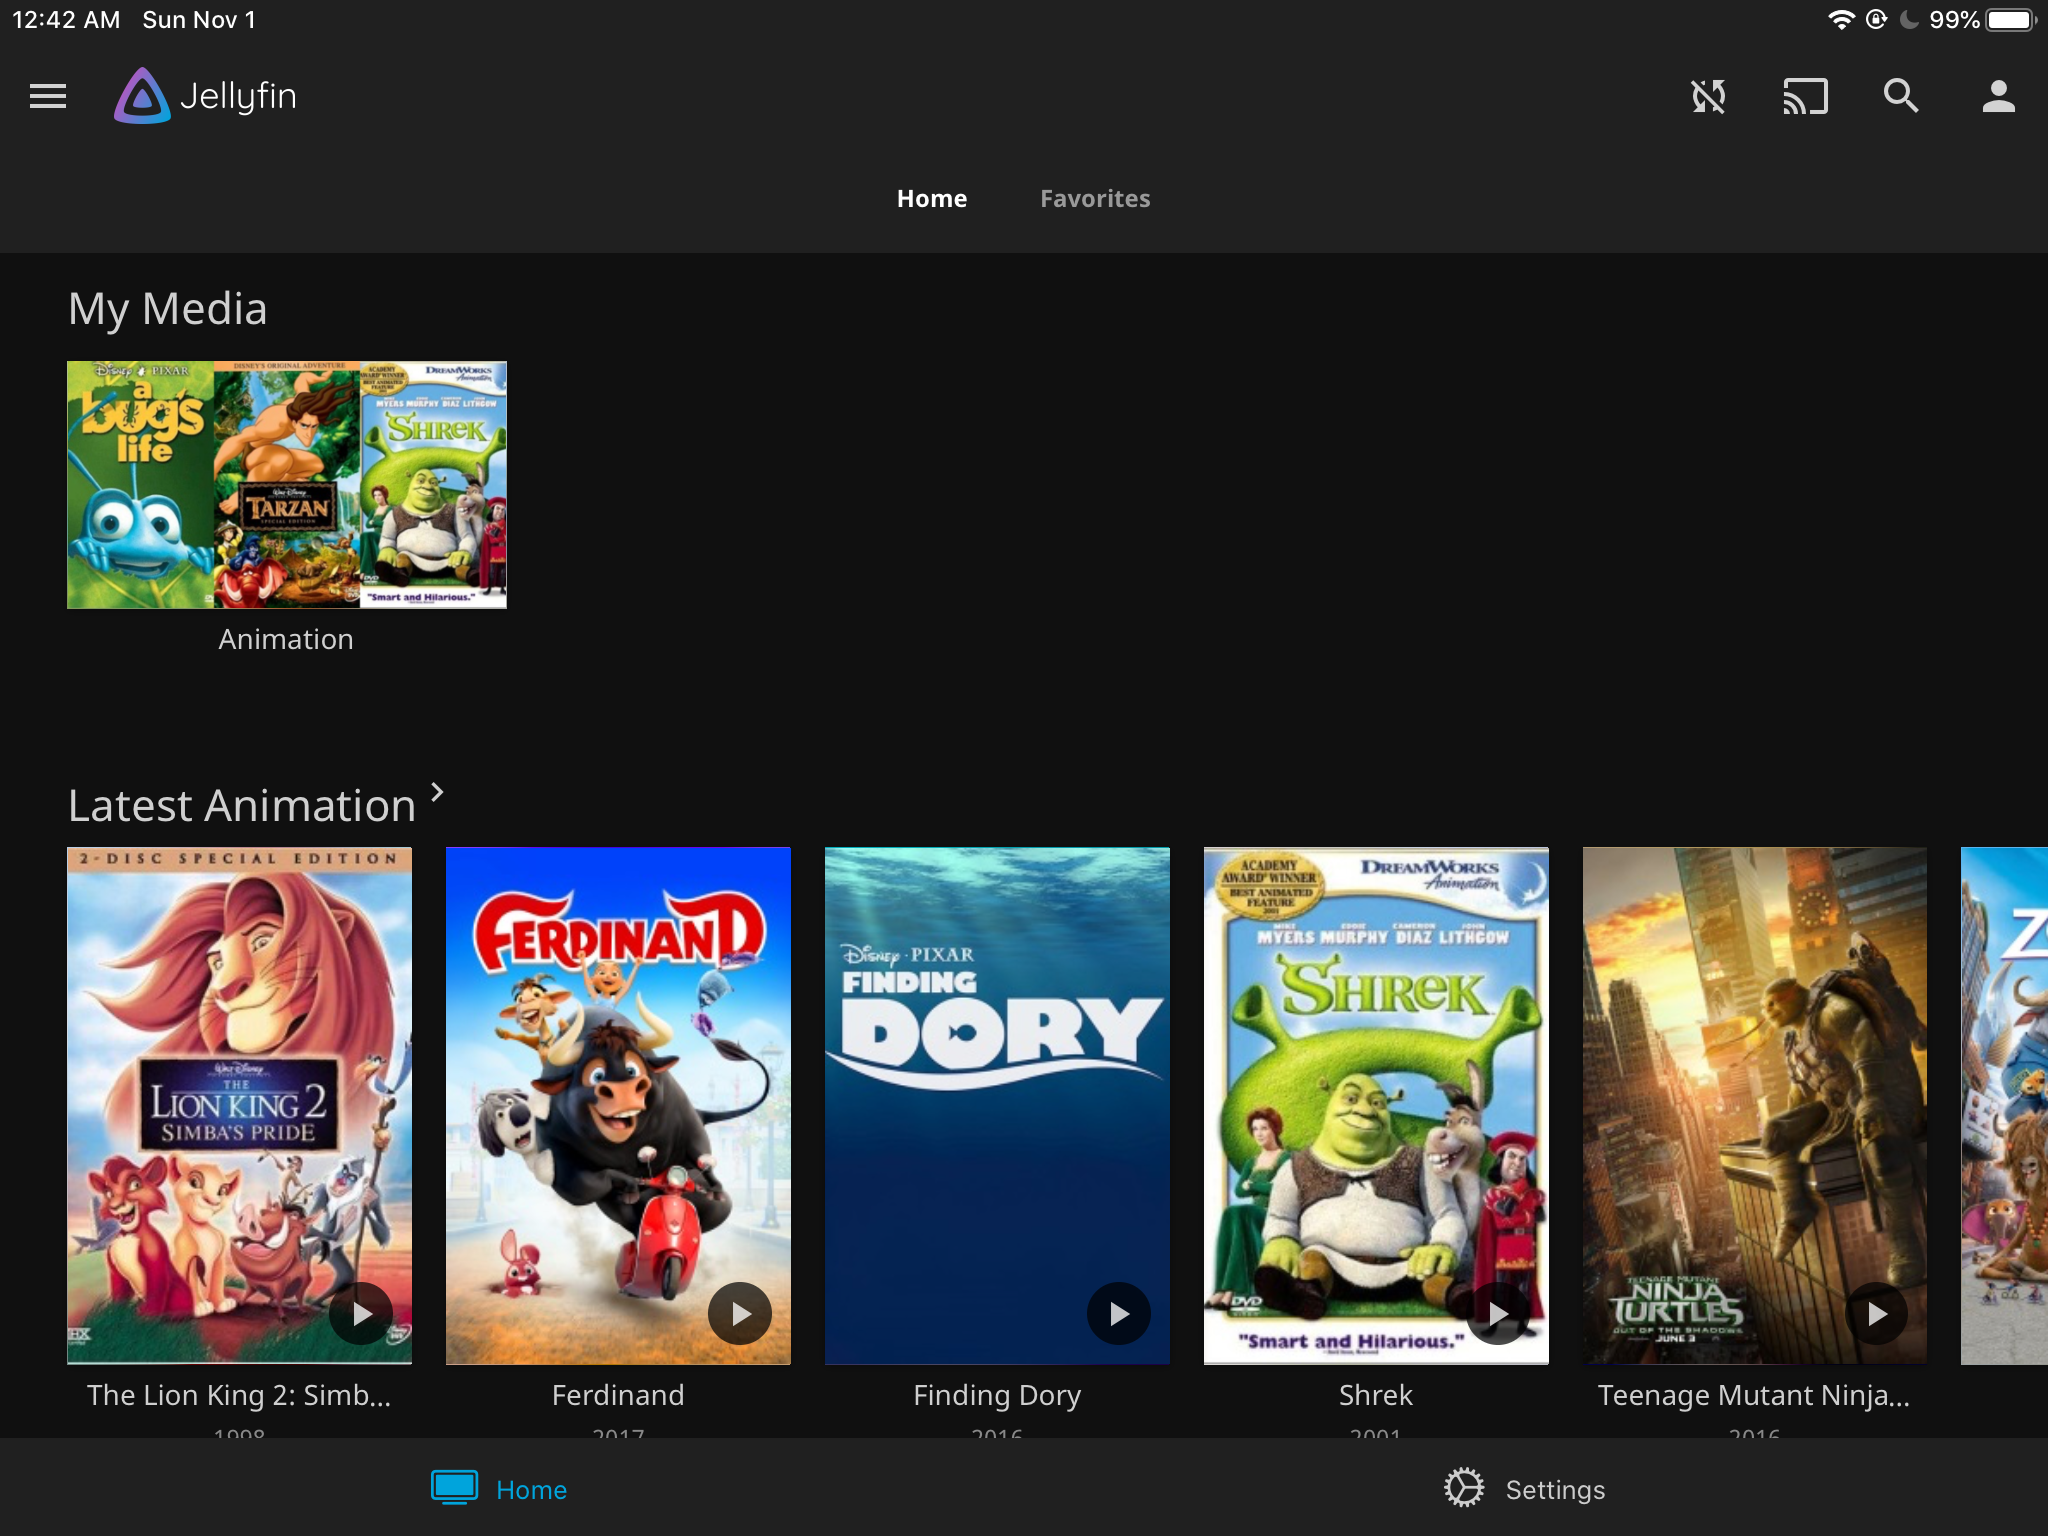
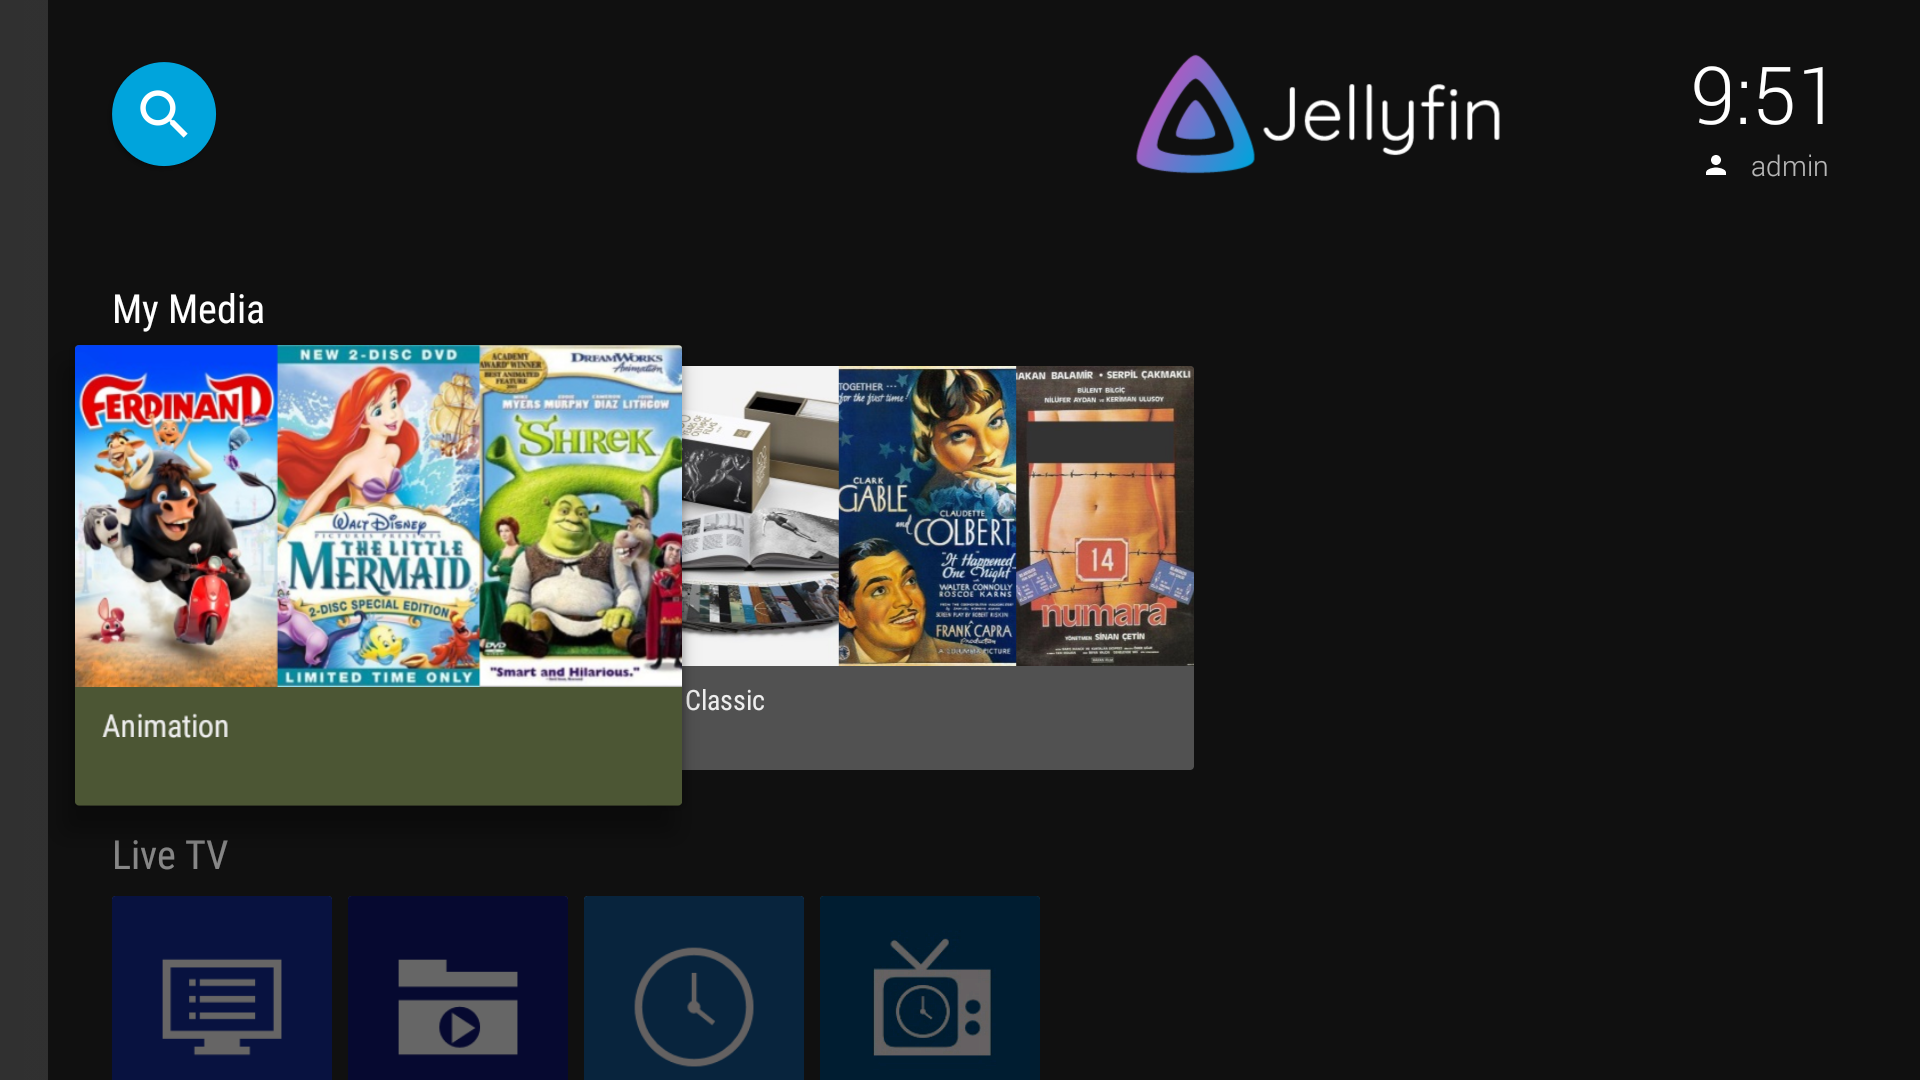
in the movie detail page, the home screen of the jellyfin is similar to this one:
In this post, I use docker compose file to install jellyfin, which is probably the most simplest way to use jellyfin.
Install Docker on Ubuntu
sudo apt install -y docker.io docker-compose
sudo usermod -aG docker $(whoami)
sudo reboot
docker pull jellyfin/jellyfin
Create config and cache directories, otherwise docker will create with root permission, which makes jellyfin unable to start.
mkdir ~/docker/jellyfin/config/
mkdir ~/docker/jellyfin/cache/
Then create compose file docker-compose.yml:
version: "3"
services:
  jellyfin:
    image: jellyfin/jellyfin
    container_name: jellyfin
    user: 1000:1000
    network_mode: "host"
    volumes:
      - ~/docker/jellyfin/config:/config
      - ~/docker/jellyfin/cache:/cache
      - ~/media/movie:/media
    restart: "unless-stopped"
Run docker-compose up -d to start jellyfin.
Server Configuration
Jellyfin server can be accessed with web interface or using client, in the setup
wizard, enter http://ip.add.re.ss:8096 in the Server Address field, click Next
to get into the user account creation page, for easy to remember I use admin, as
this account will also be administrator account used for media management, the
password field can be left blank.
The next step is adding media libraries.
Adding Media Library
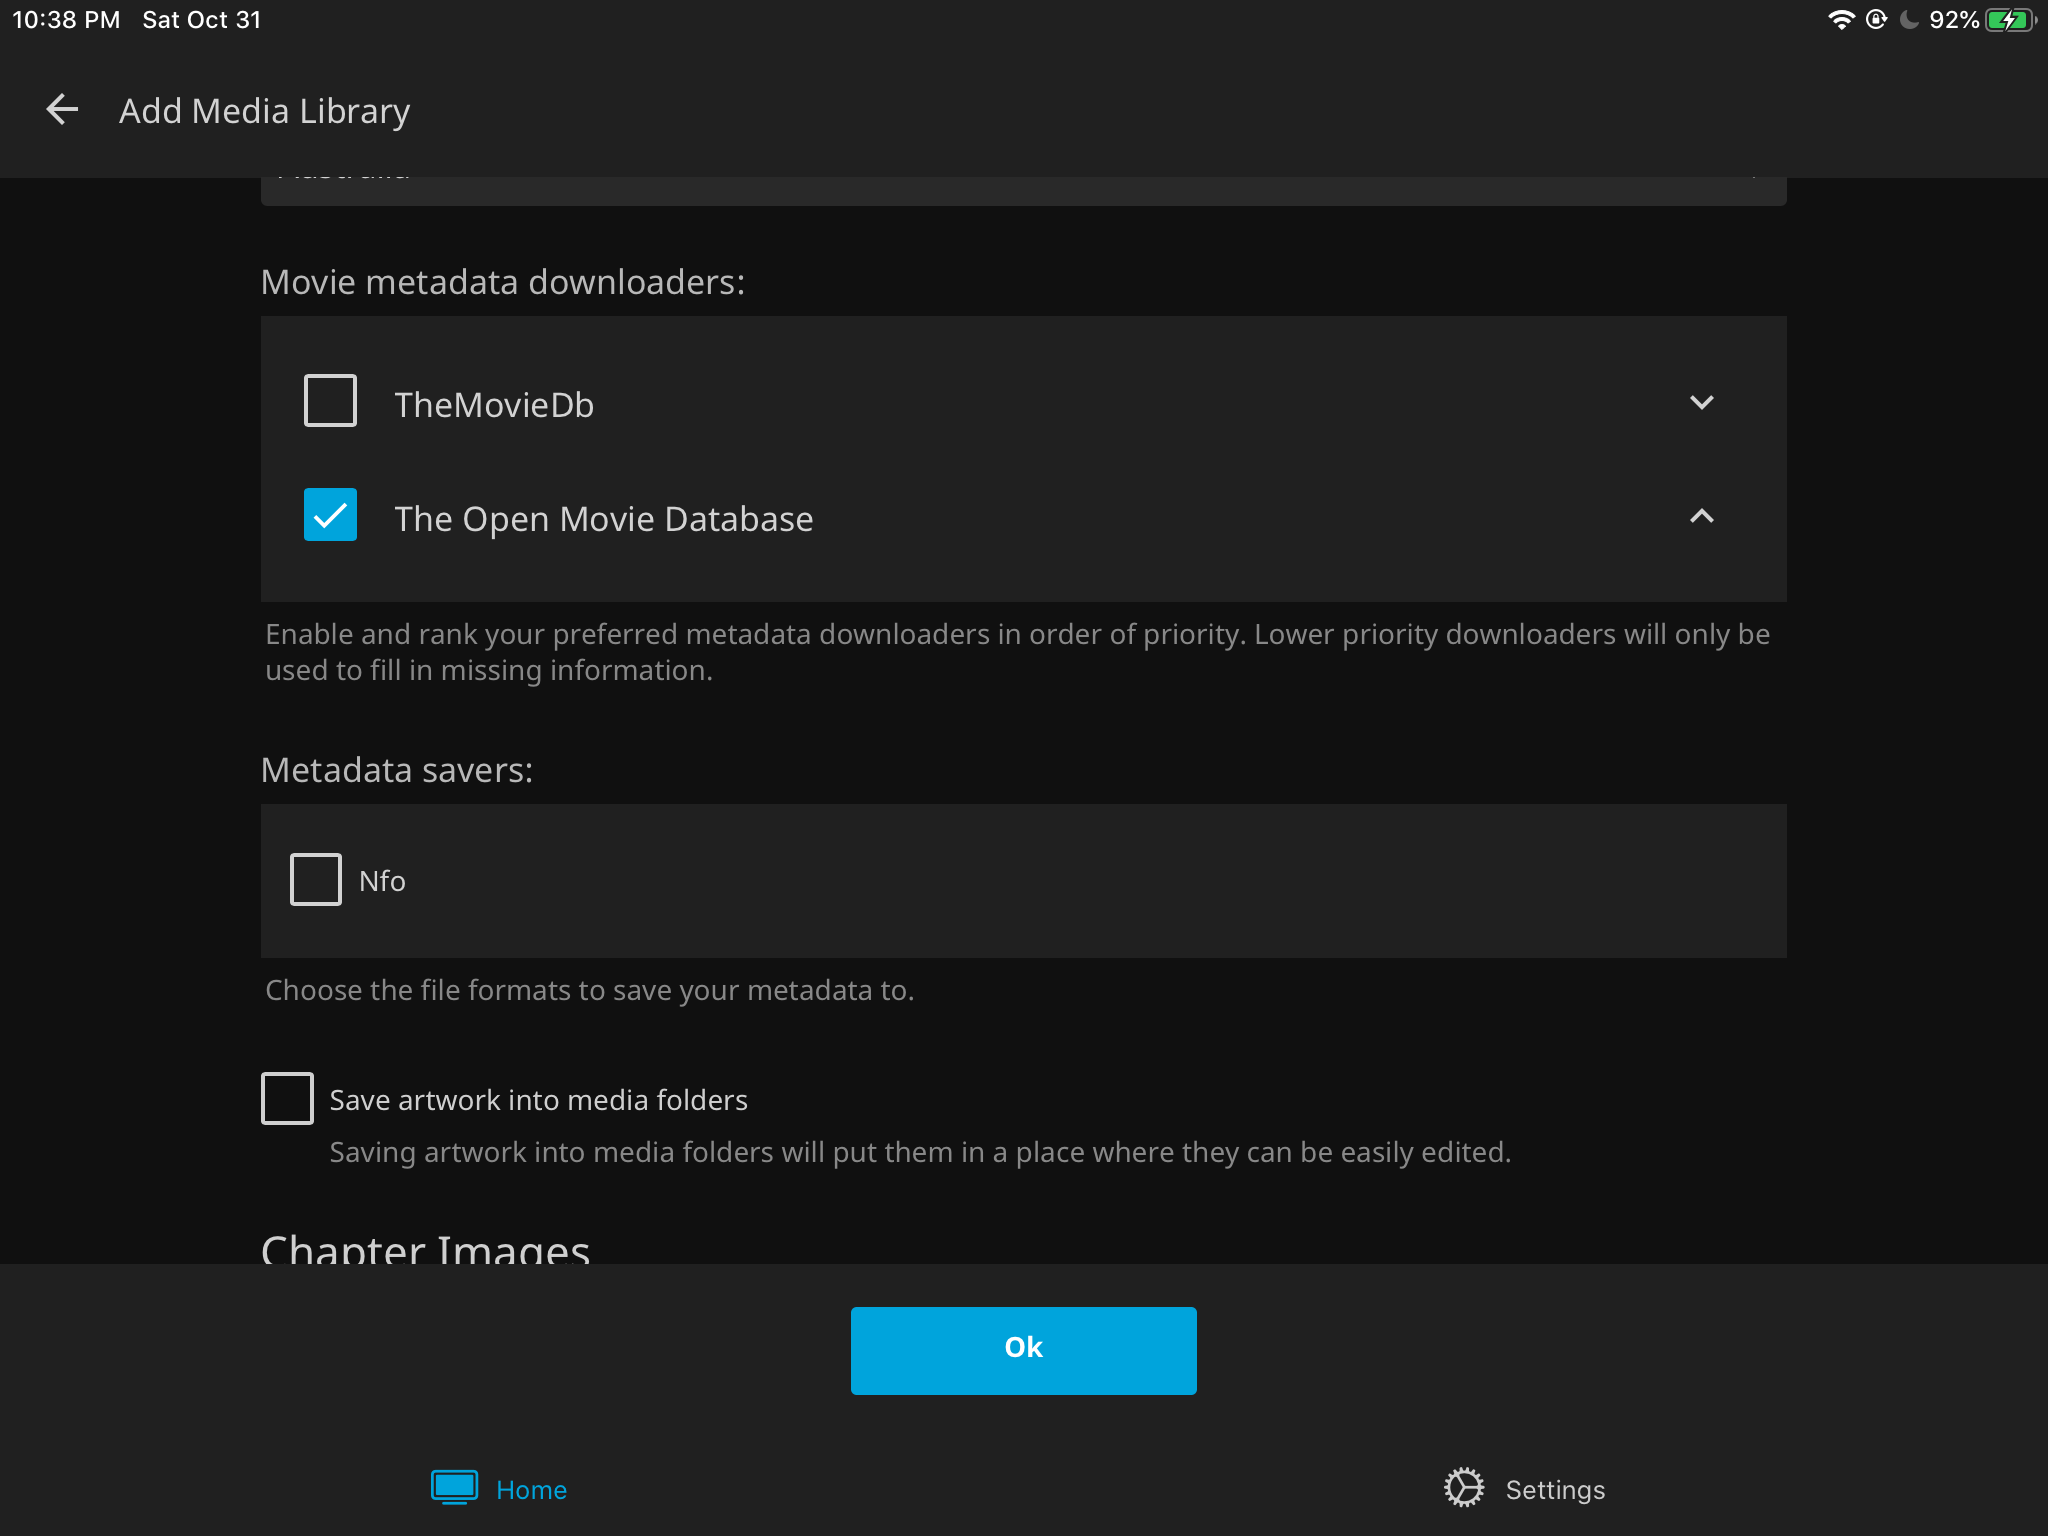
In this step make sure TheMovieDb in Movie metadata downloaders section is not
selected, for version 10.6.4.0, it will cause the media scan cancelled:
Jellyfin server version can be checked with:
$ docker exec jellyfin /jellyfin/jellyfin --version
Jellyfin.Server 10.6.4.0
Media scan can take several minutes or longer depends on how many video files you have.
These settings can be changed later through Dashboard >> Libraries >> Manage library.
Accept default configuration for the remaining steps.
After the media scan completed, you may find the movie cover image is a little bit ugly compared to the one you found in tmdb or imdb, because those images come from Screen Grabber, which is the just works solution.
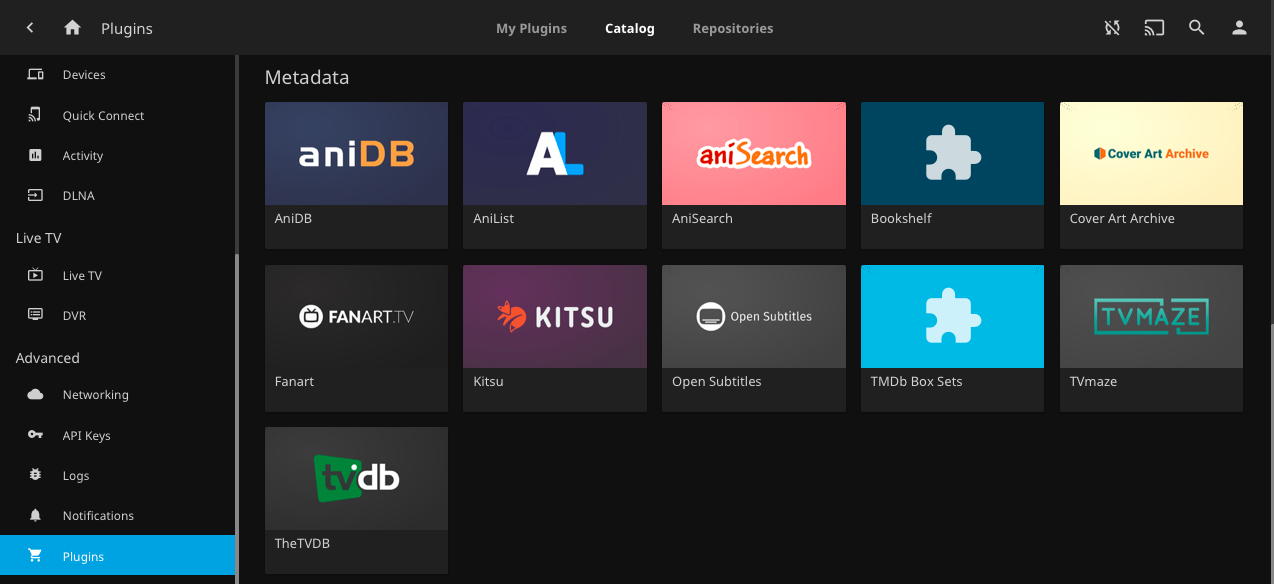
Using Plugins
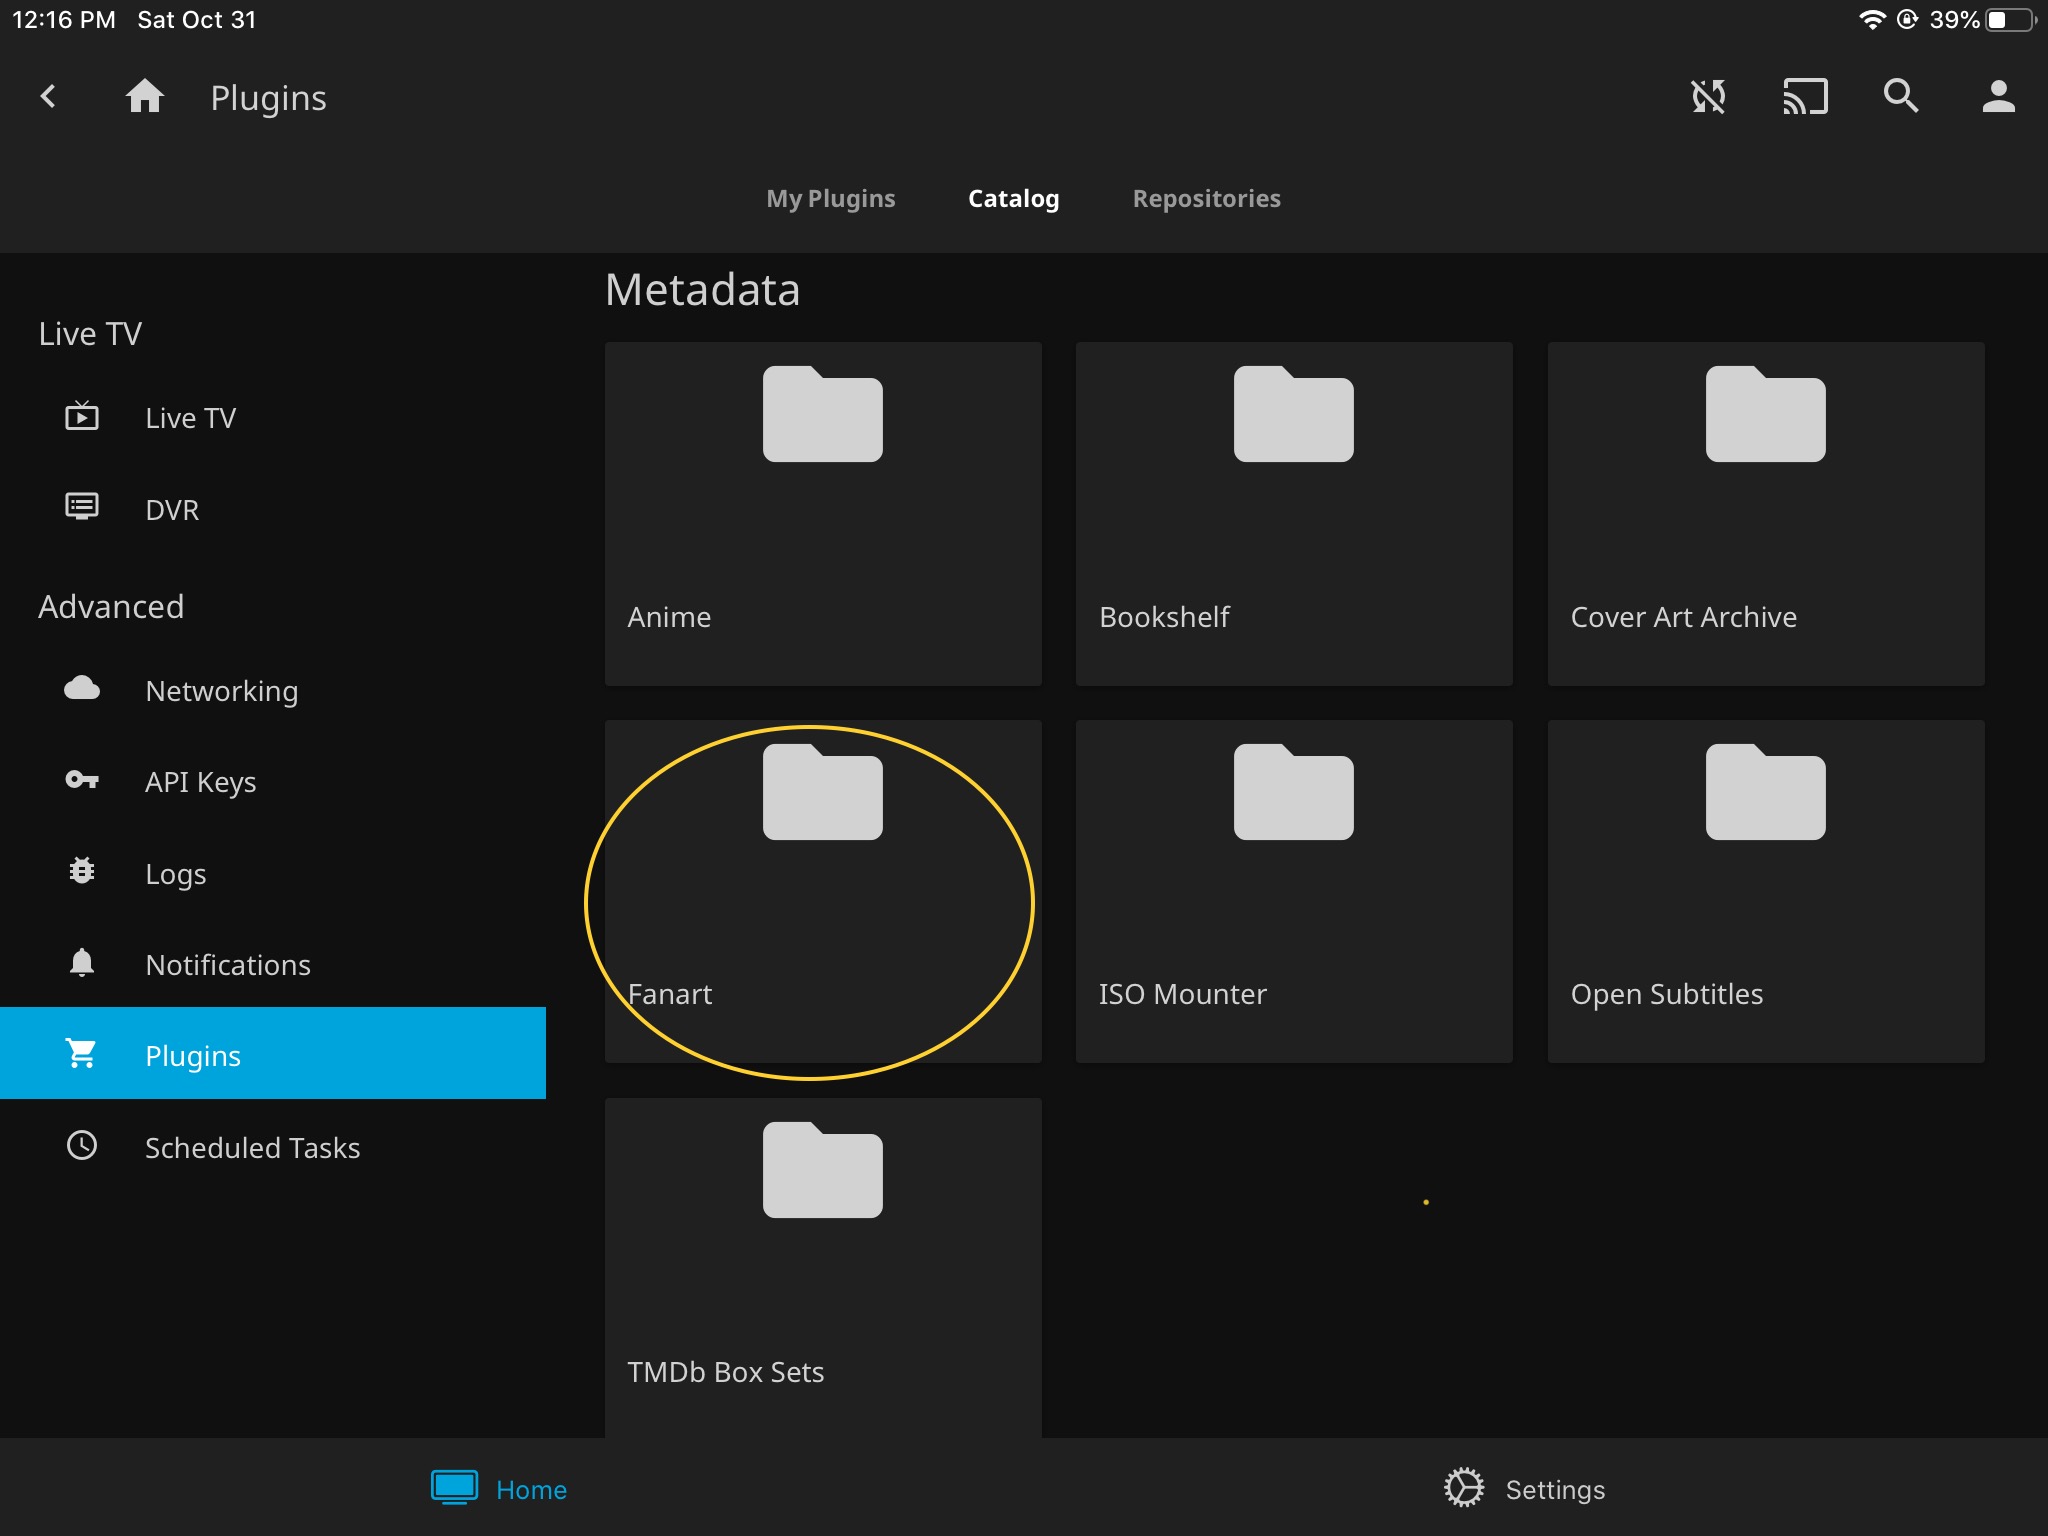
FanArt
FanArt plugin is an official plugin which pull movie images from
Fanart, you can install it through Dashboard >> Plugins >> Catalog,
at Metadata category:
Jellyfin server need to be restarted for changes to take effect, go to directory
that contains compose file, do docker-compose restart.
To enable fanart plugin, go to Dashboard >> Libraries select Manage library
from the context menu of the desired library:
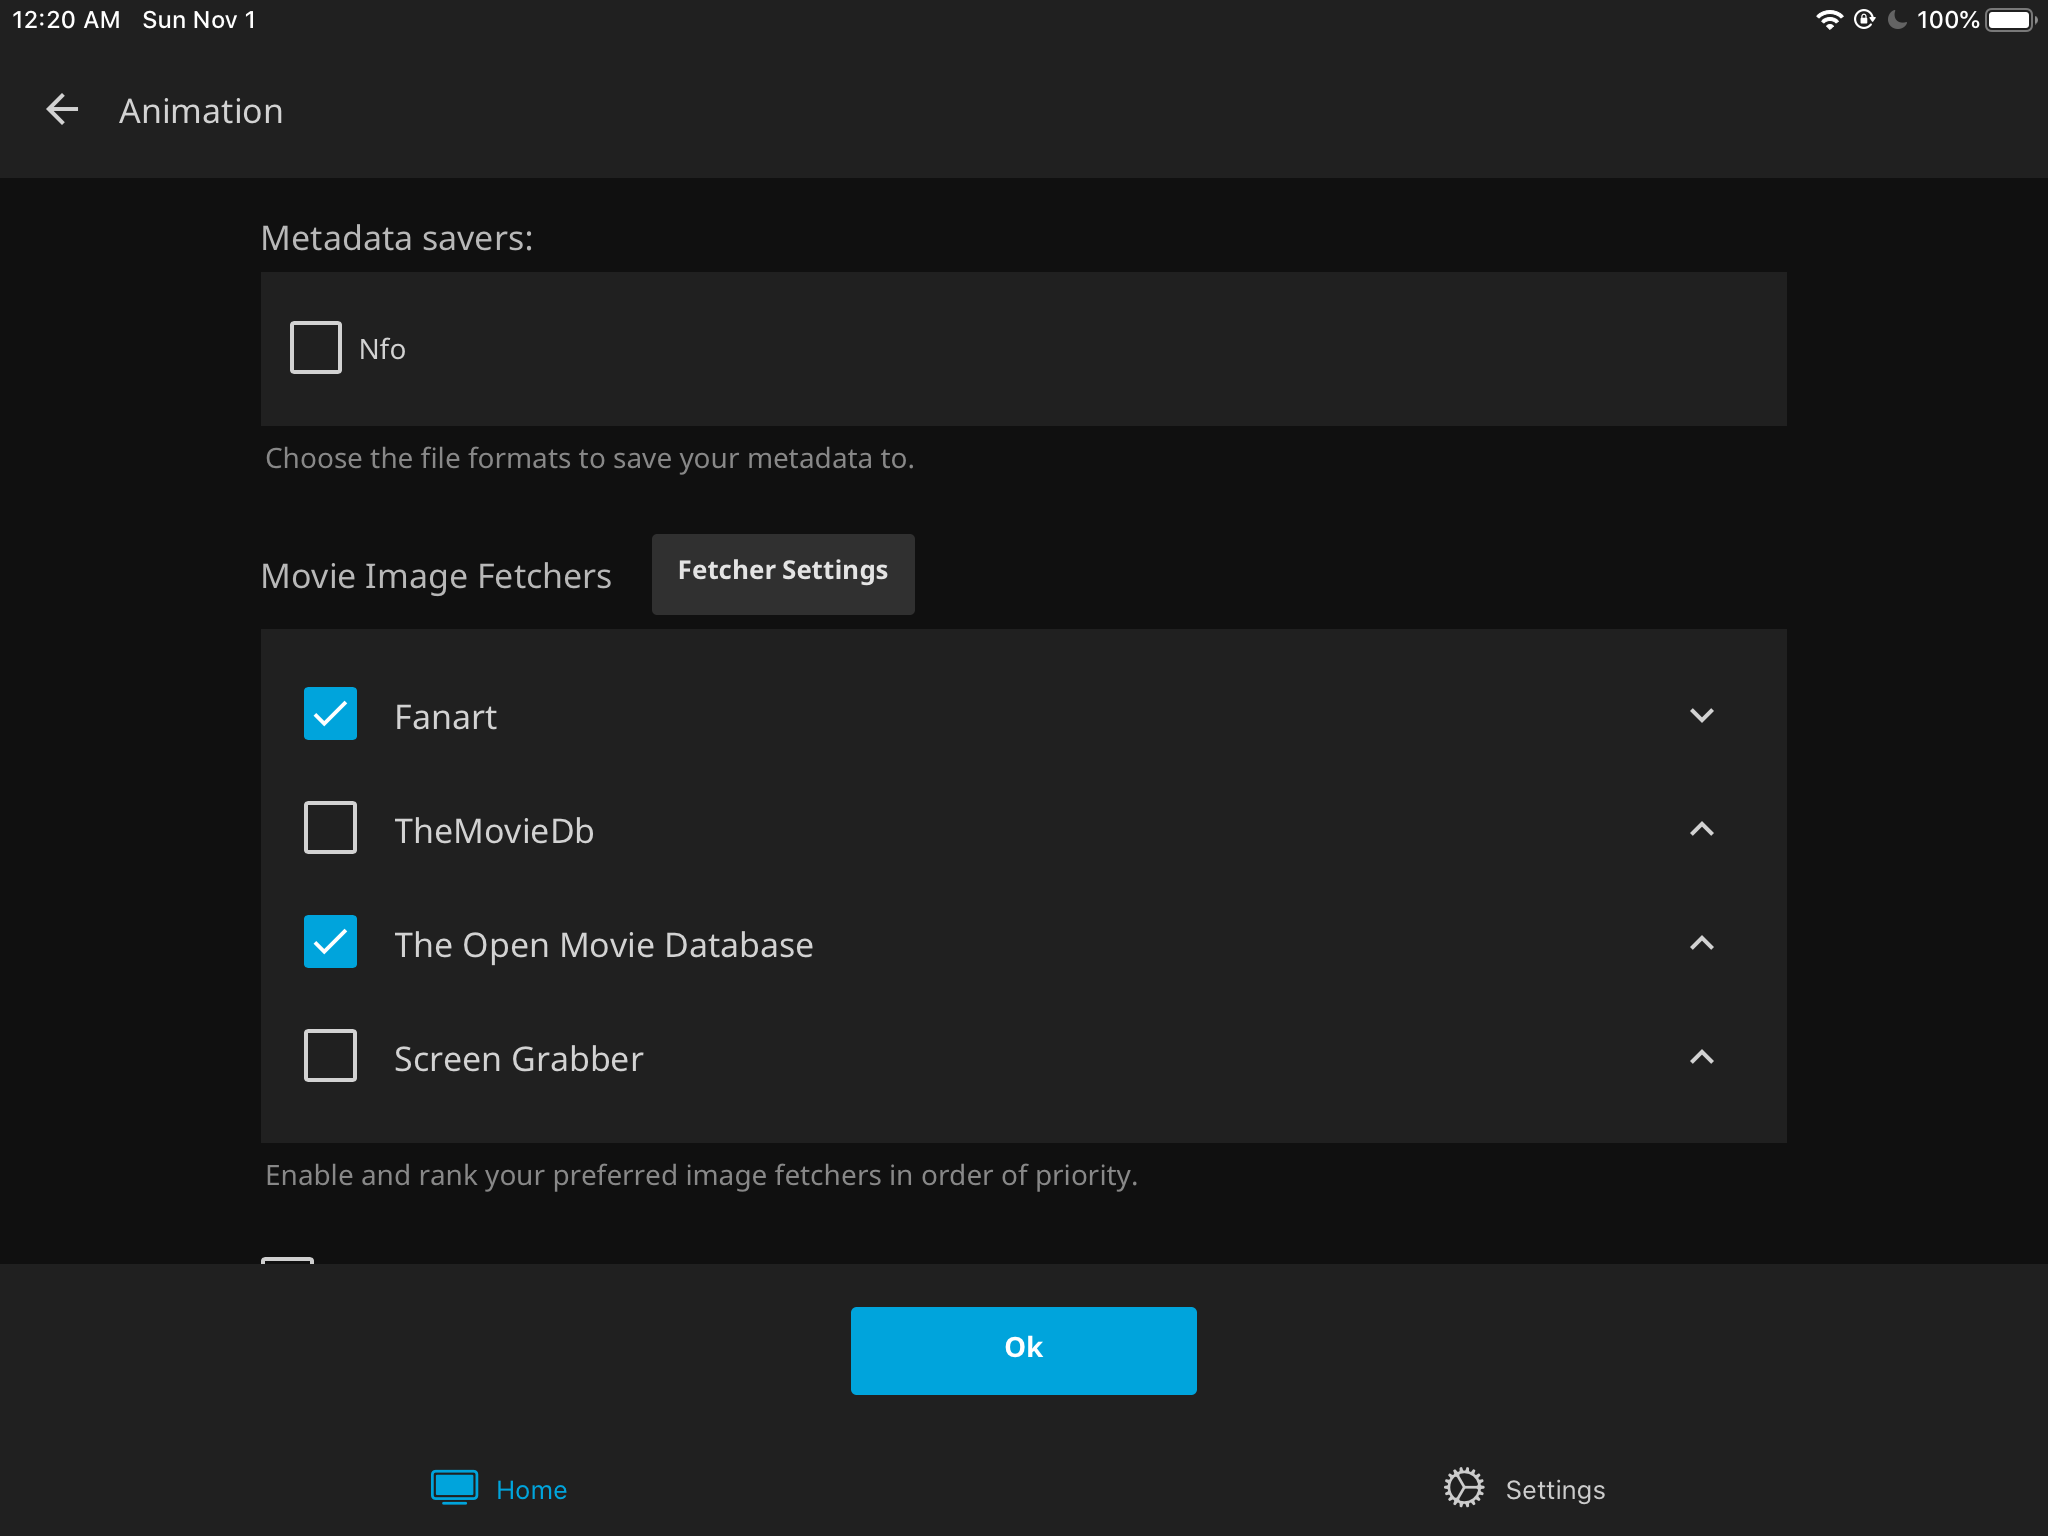
 Enable Show advanced settings in the next window, and
select Fanart in Movie Image Fetchers:
Enable Show advanced settings in the next window, and
select Fanart in Movie Image Fetchers:
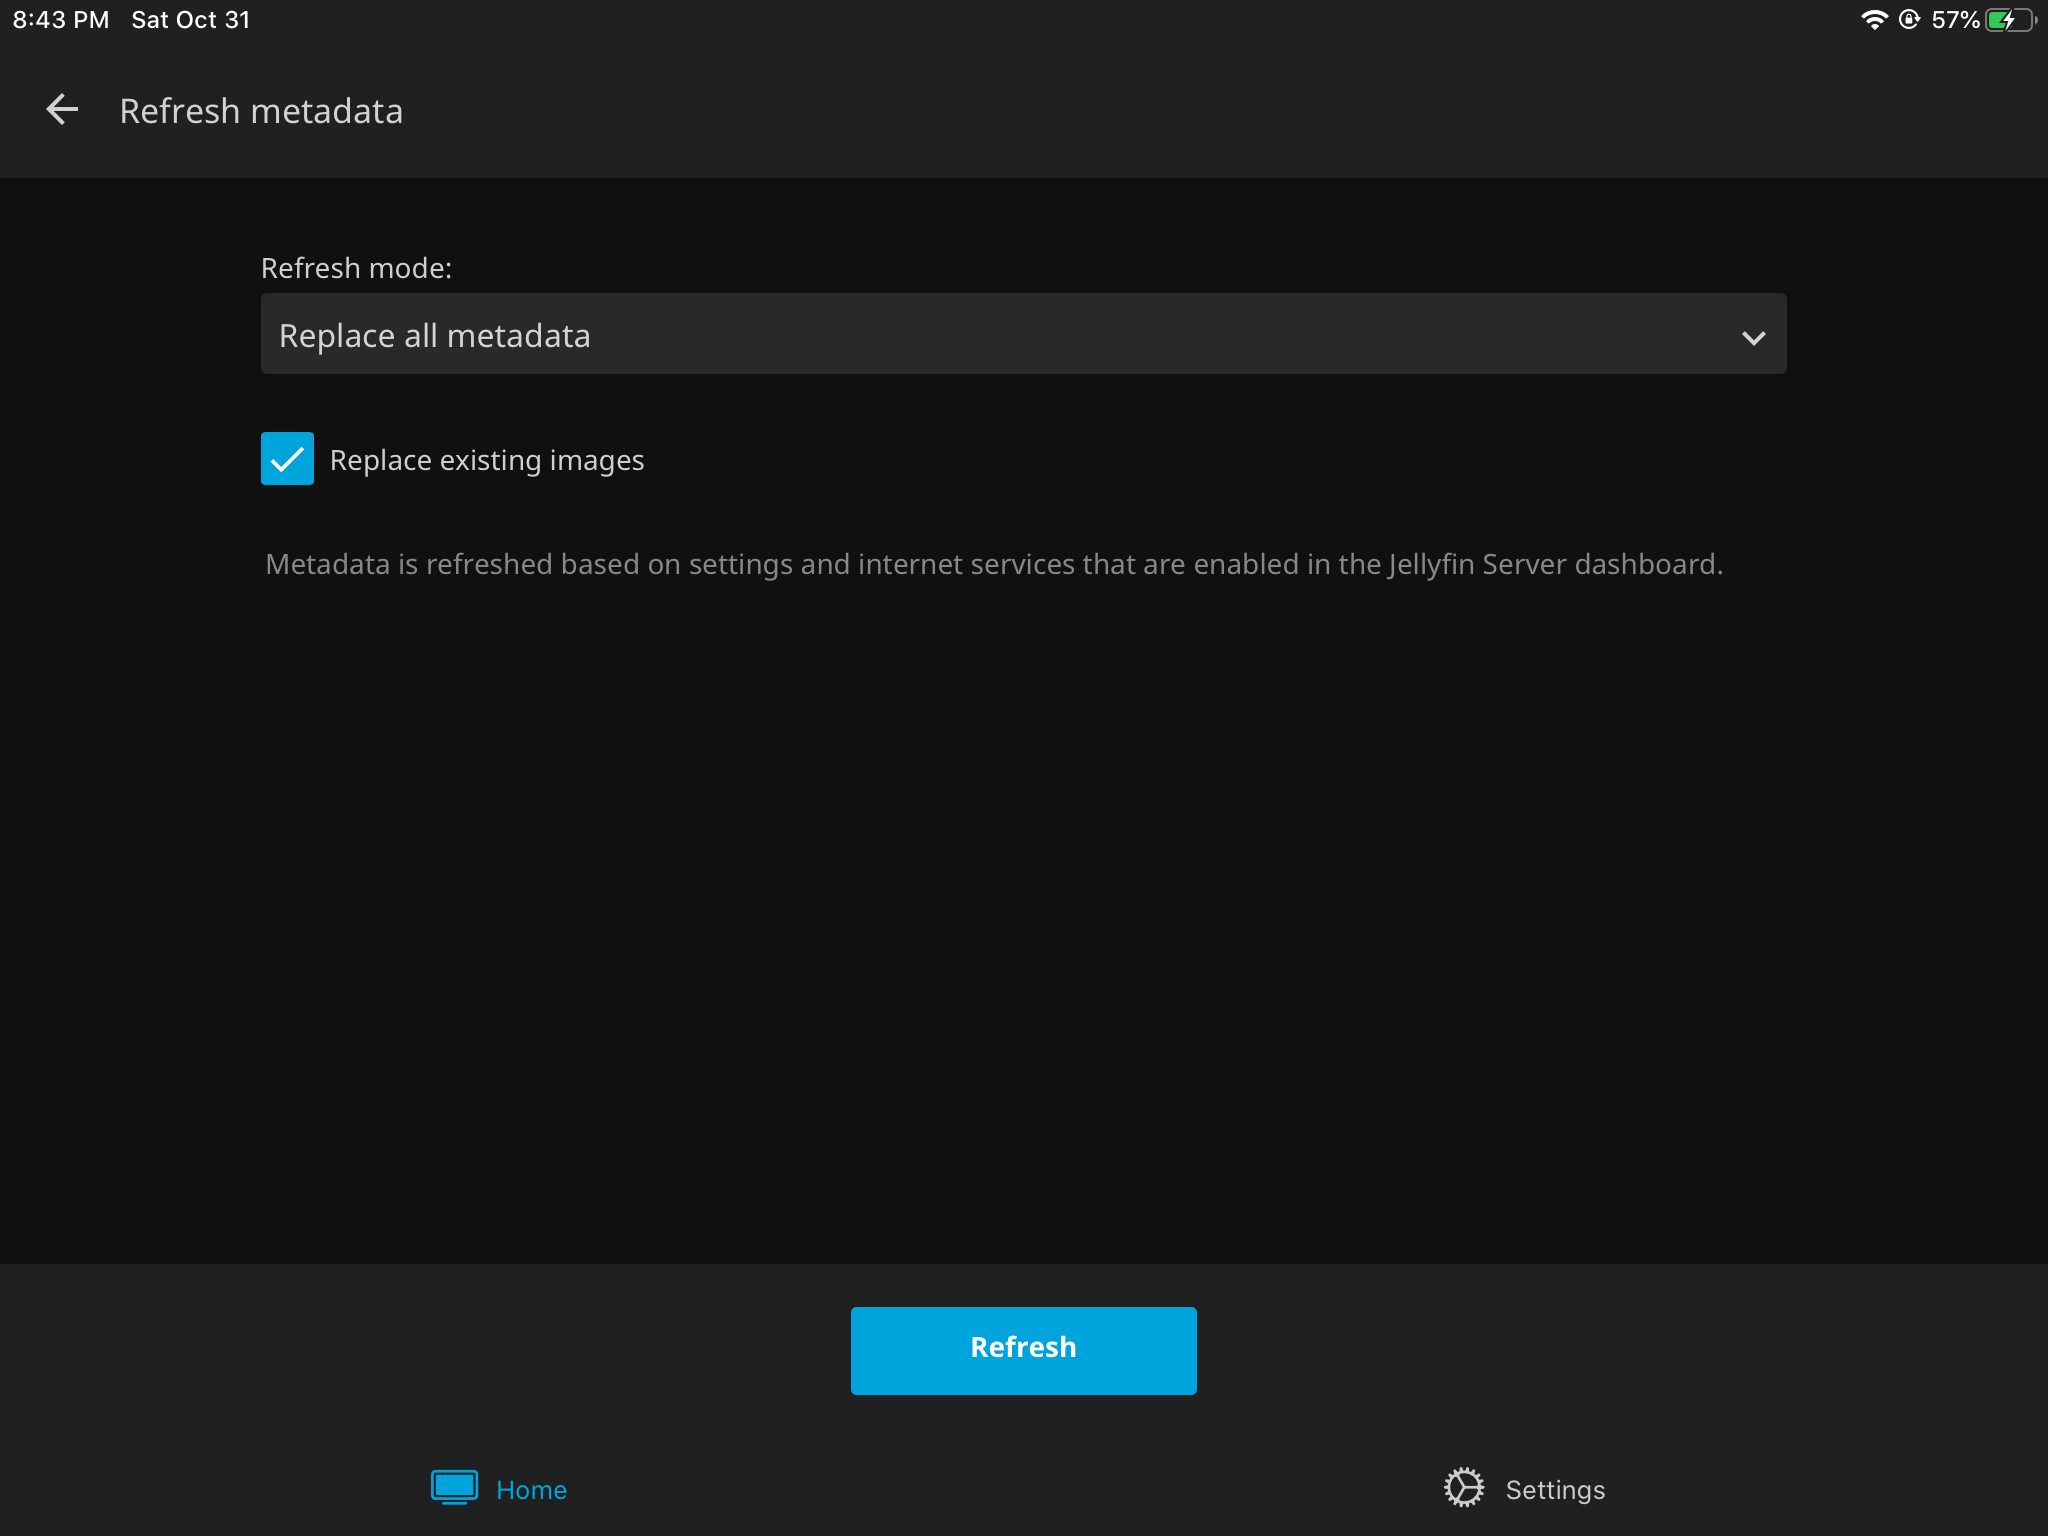
 Then select Scan library in the context menu:
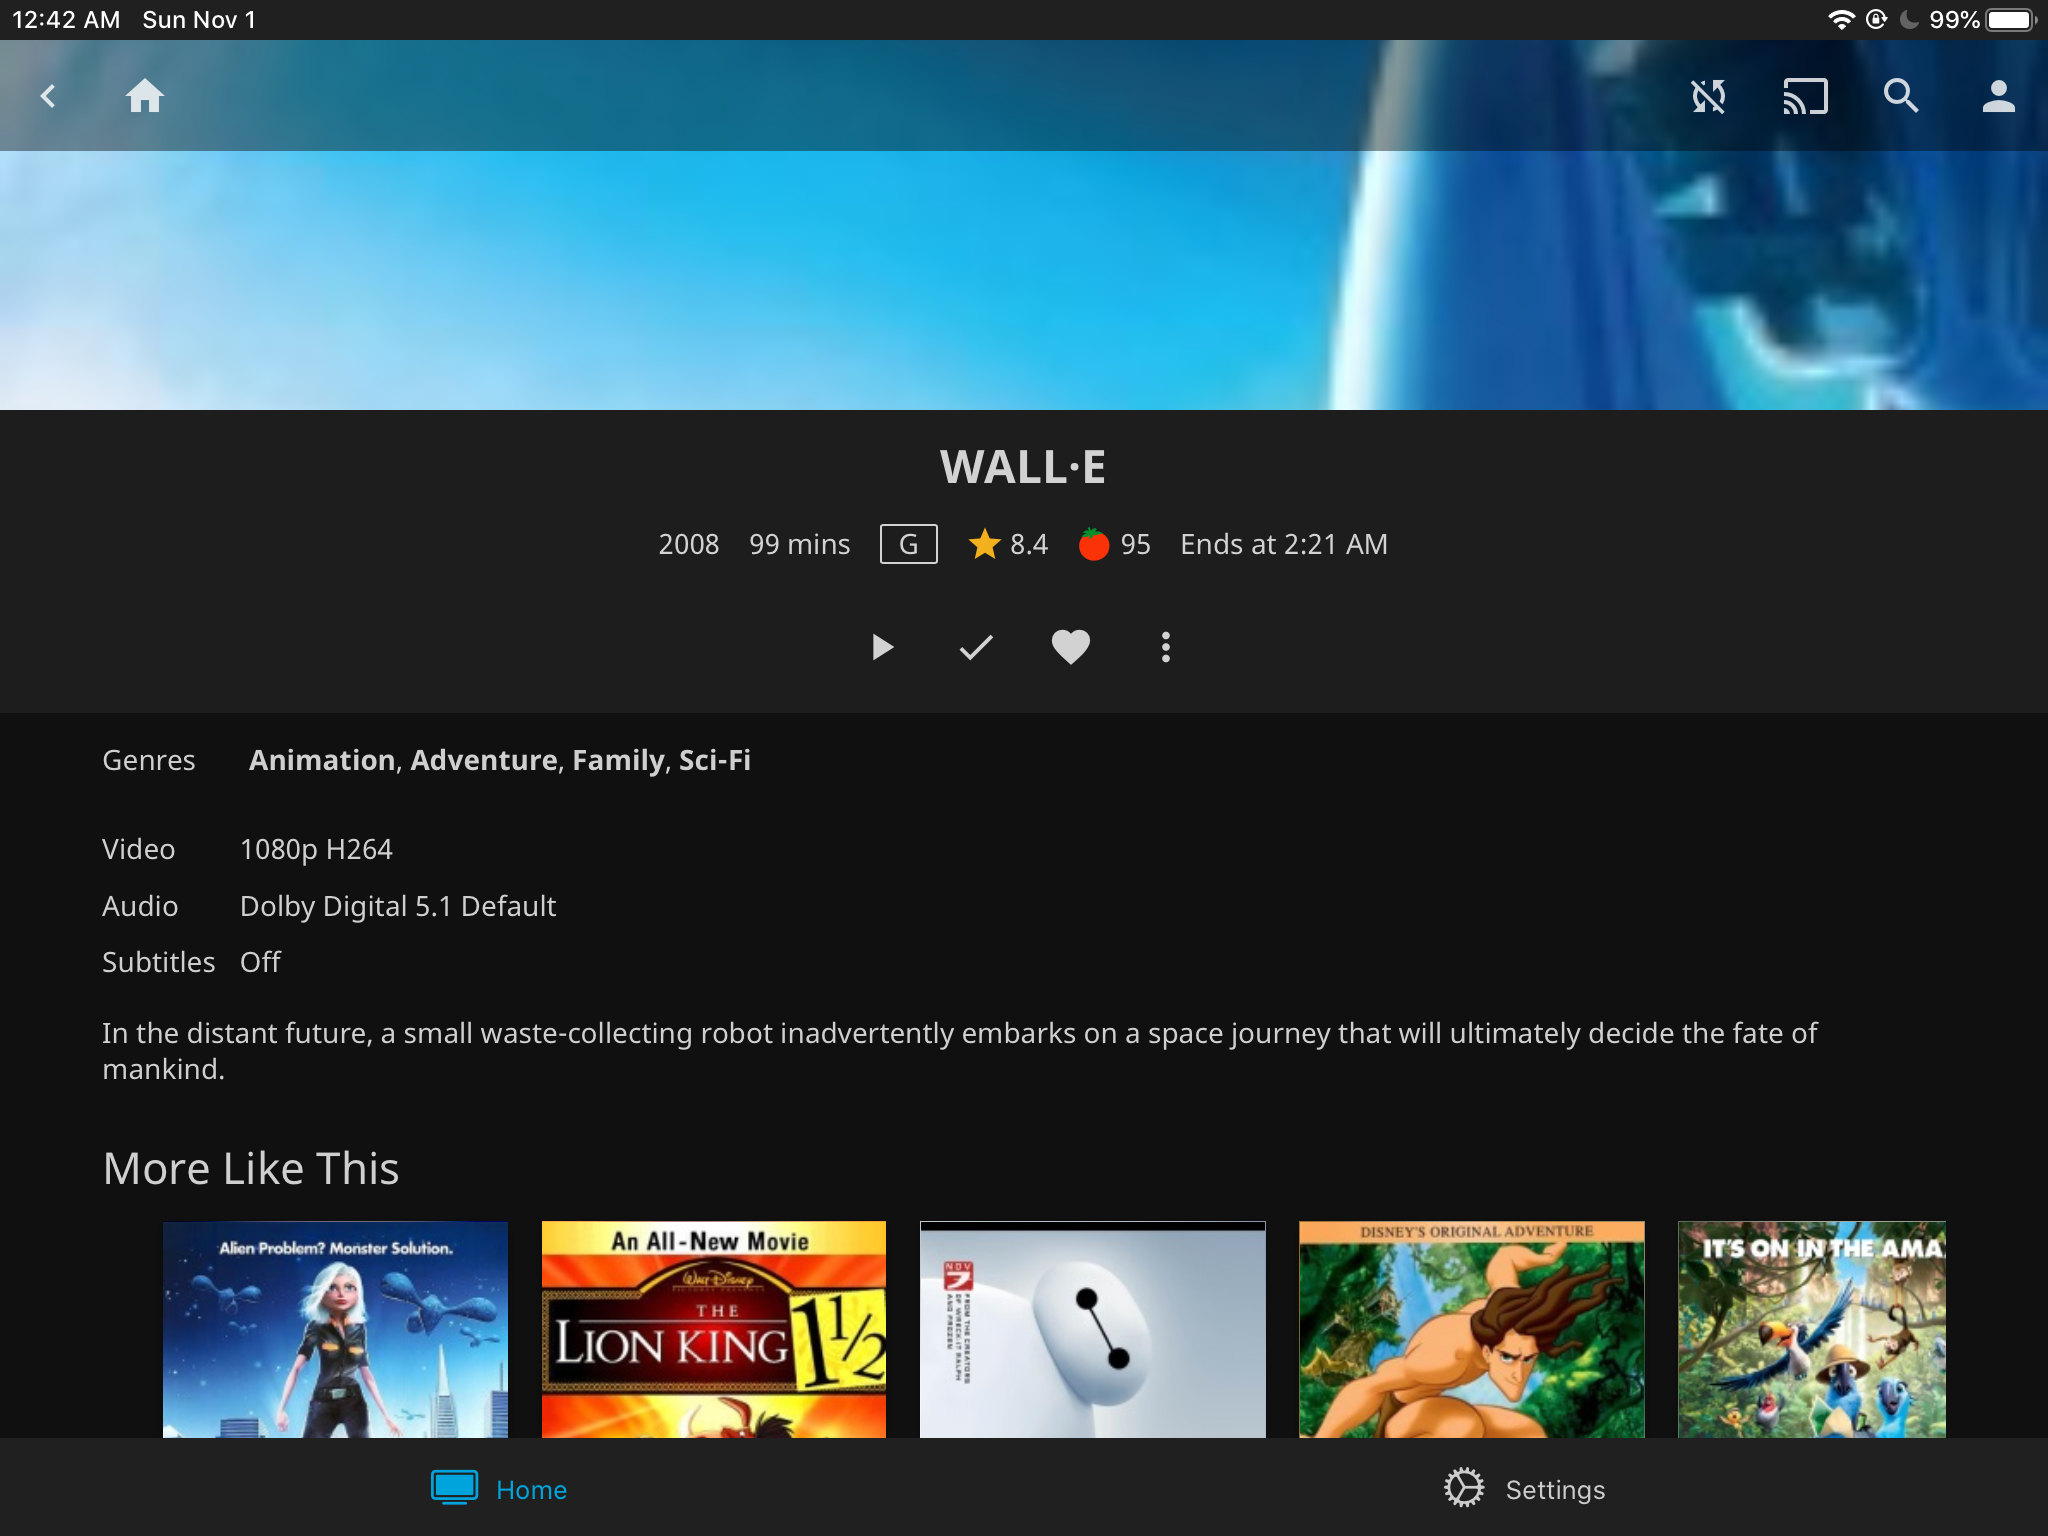
Now, it’s much better:
And we can see some details in movie info page, including ratings from IMDb
and Rotten Tomatoes:
For Chinese movies and TV series, you probably want to retrieve metadata and reviews
from douban, Jellyfin also has a web interface for third-party plugins,
if a manifest file exists, go to Dashboard >> Plugins >> Repositories,
create a new repository with manifest URL:
https://raw.githubusercontent.com/Libitum/jellyfin-plugin-douban/master/manifest.json
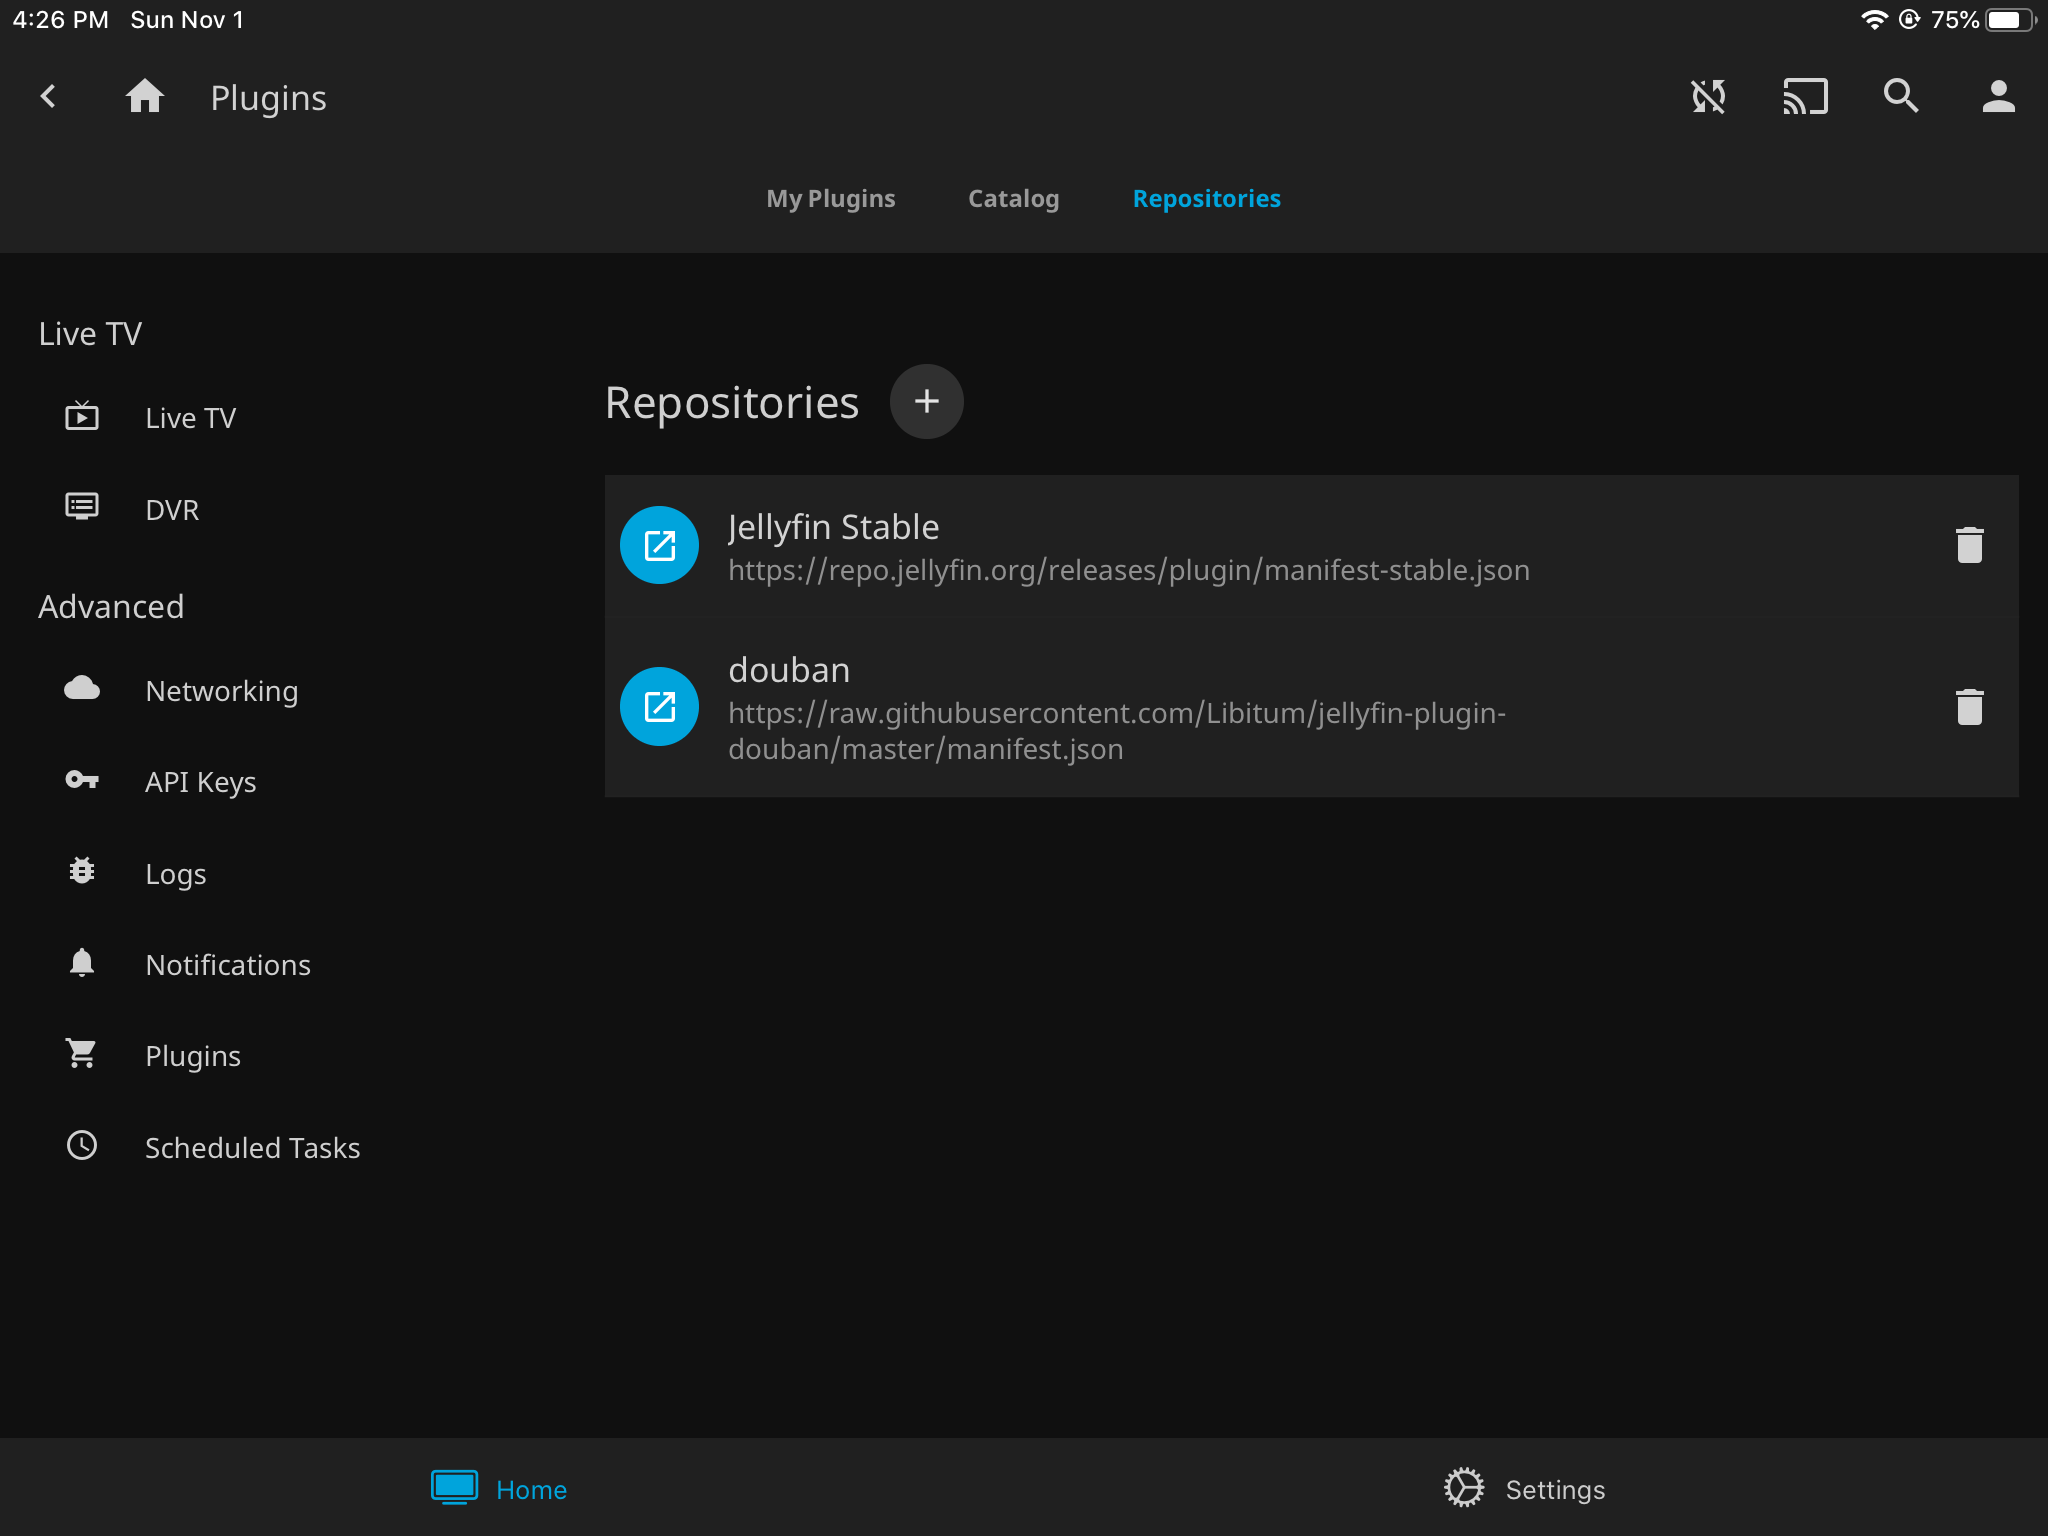
Find it in Metadata section of Catalog tab, and install from there.
If no manifest file provided, just download the plugin DLL and put it to directory
config/plugins should also work.
Open Subtitles
For English learners, it’s a great help to have subtitles on while watching movie, Jellyfin has a plugin named Open Subtitles for this, with this plugin you can download susbtitles from Open Subtitles.
Click , and find it under Dashboard (Admin) >> Plugins
(Advancted) >> Catalog, at Metadata category:
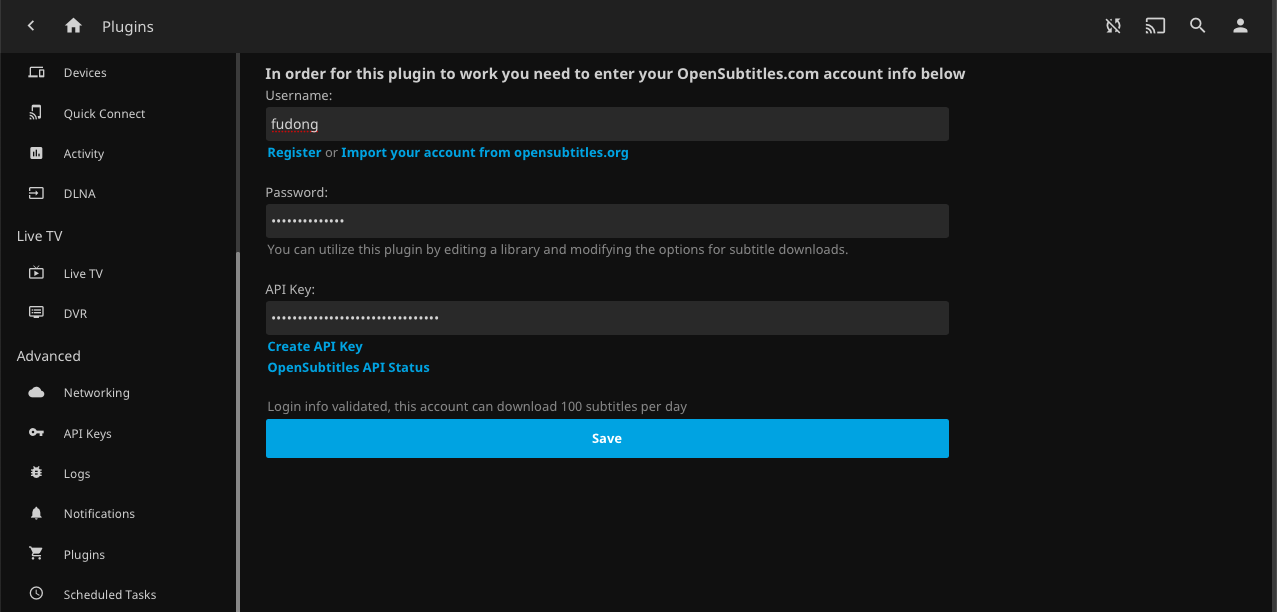
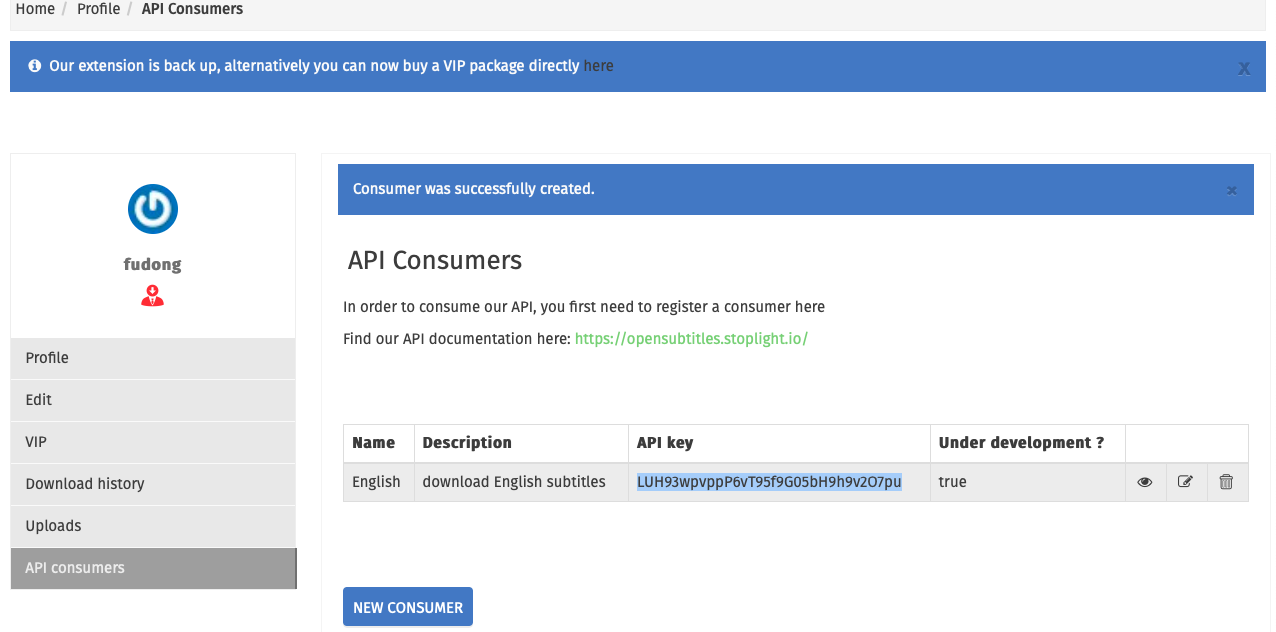
 Before downloading subtitles, an API key is required, create
one if not created before:
Before downloading subtitles, an API key is required, create
one if not created before:
Now we can download subtitles for our movies:
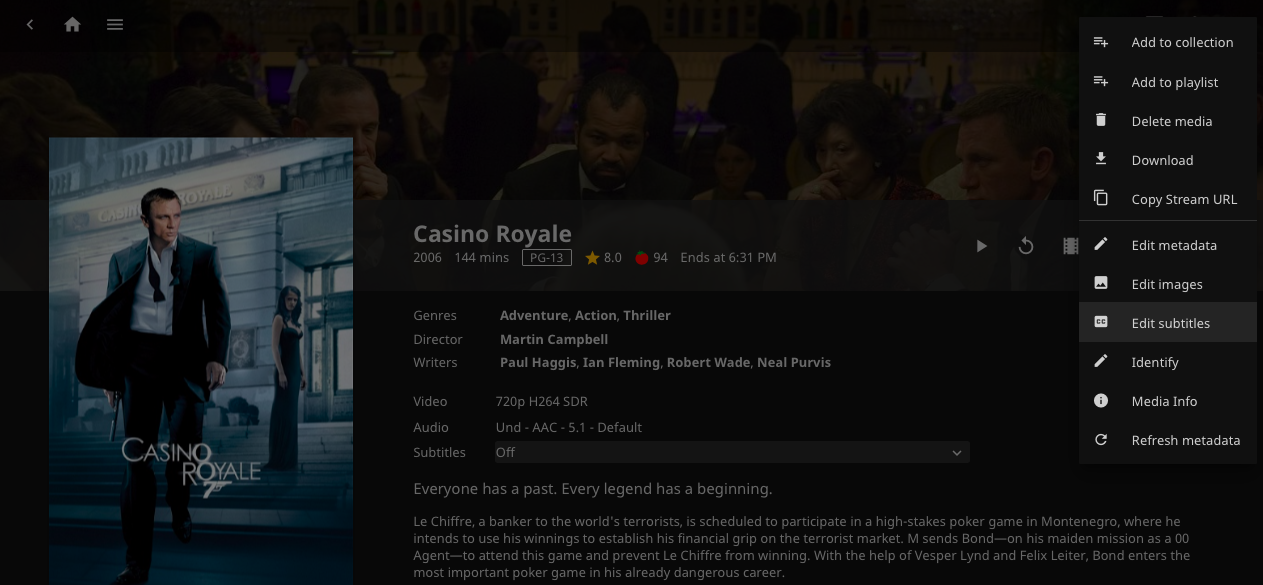
- Go to movie detail page
- Click on at right side
- Select
Edit subtitles
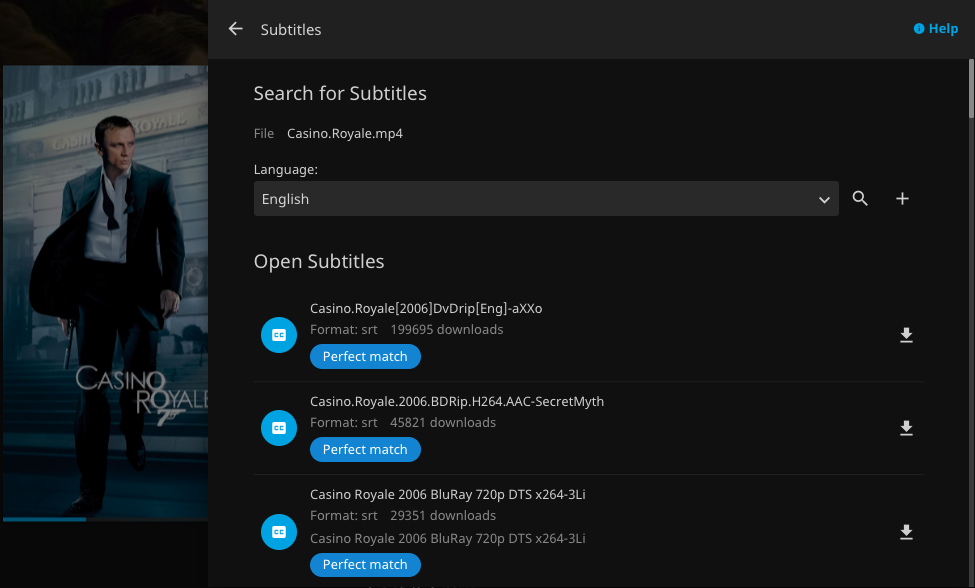
Select English and click the Search button, wait for a while and a list of results
will show up, select appropriate one to download:
The final step is to enable it while playing, click CC and
select Eng to enable it.
Homescreen Customization
Jellyfin home screen can be customized to meet our needs, such as change media library orders, hide/display latest audio library etc, there are bunch of options.
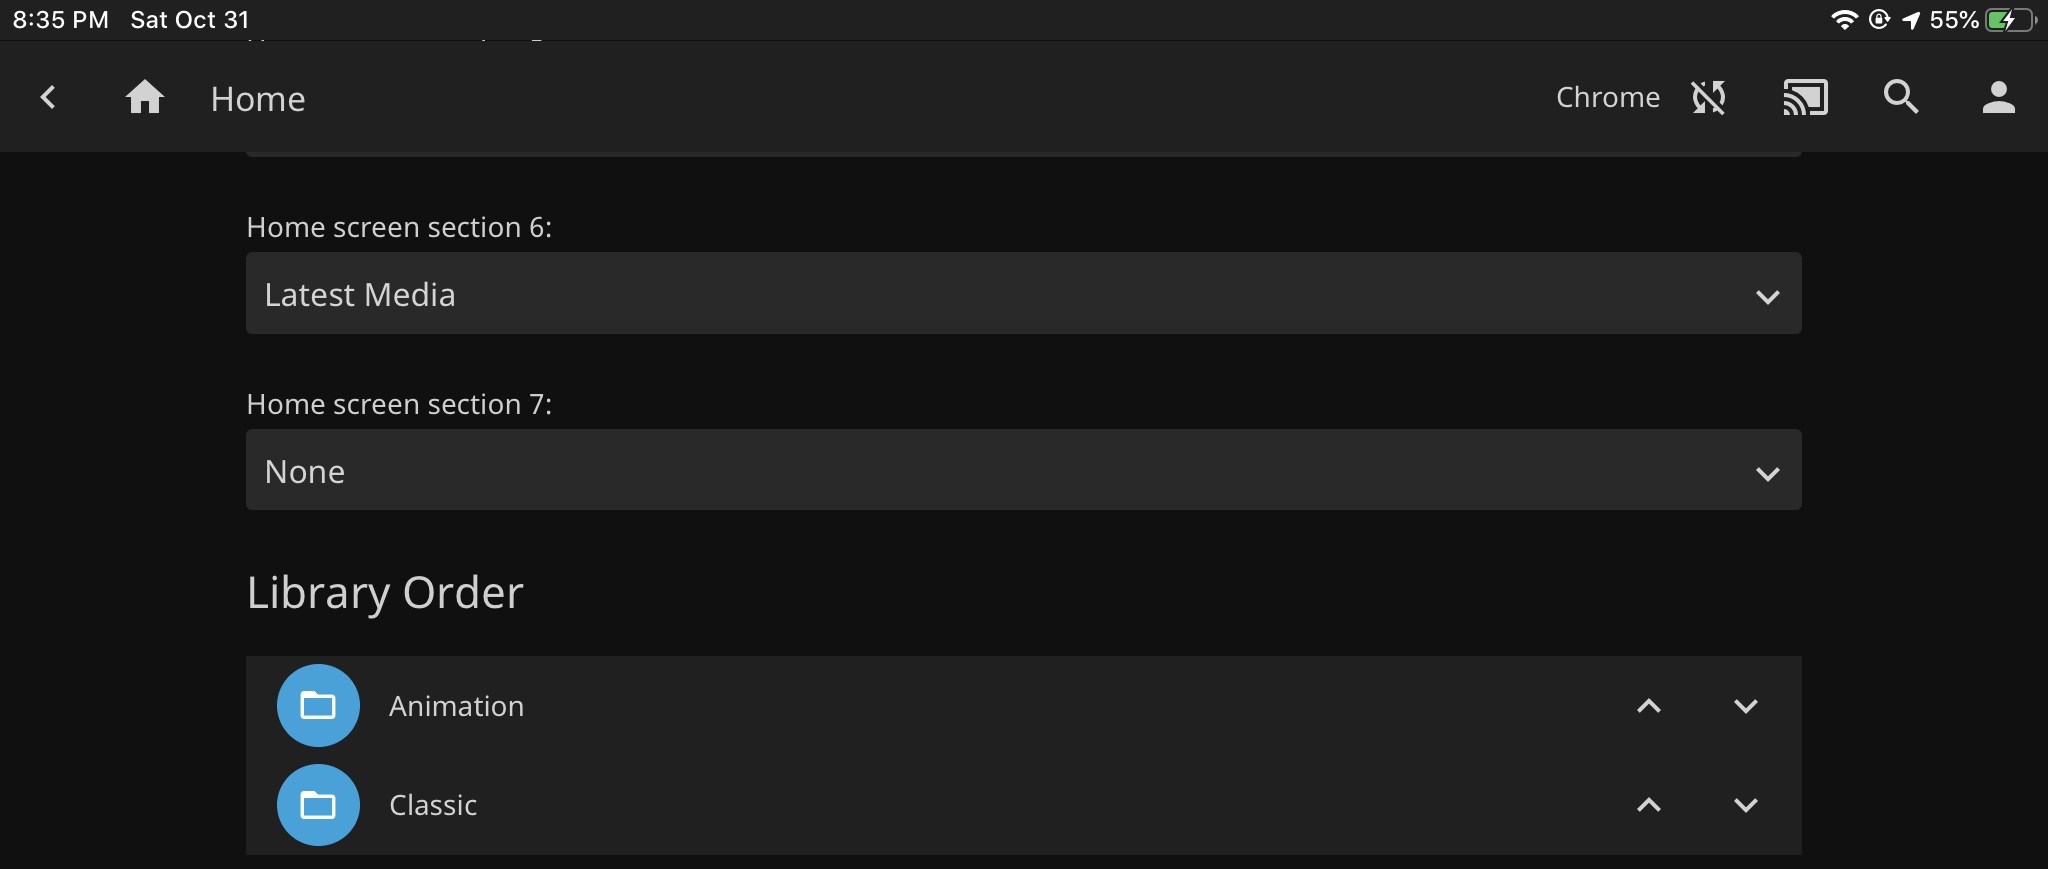
Click on your profile icon at the top right corner, select Home, you will see
them, this is the section for changing library order:
Access/Parental Control
You may want to hide some contents that are inappropriate for little kids, set fine
grained access control at Dashboard >> Users.
Cast and Crew
The movie cover image can be retrieved with Fanart plugin, but without TheMovieDb,
one import feature is missing: the Cast & Crew, the comment gives the
right direction, but I can not get it working at first, I added extra_hosts to
compose file:
    extra_hosts:
      - "omdbapi.com www.omdbapi.com img.omdbapi.com:104.20.134.15"
      - "themoviedb.org www.themoviedb.org:13.249.71.53"
      - "api.themoviedb.org:13.225.53.99"
But it does not work, the hosts file inside docker does not changed, finally I
realized the reason for this is the network_mode was set to host, it works by
adding those mappings to Ubuntu’s host file:
13.225.53.99    api.themoviedb.org
13.249.71.53    themoviedb.org www.themoviedb.org
104.20.134.15   omdbapi.com www.omdbapi.com img.omdbapi.com
Jellyfin Client for AndroidTV
As a multimedia management solution Jellyfin has clients for almost all platform
here is the one for Android TV:
Debugging
The Jellyfin server log can be viewed in advanced section of Dashboard: Logs,
or check out log file directly, log level can be changed in file logging.default.json
The default log file location is $JELLYFIN/config/log/.